If you’re completely bored by gray-backgrounded NSWindow and wondering how to improve the UI with some colors, here we go with some helps. I highly recommend Luka Kerr’s post on Github.
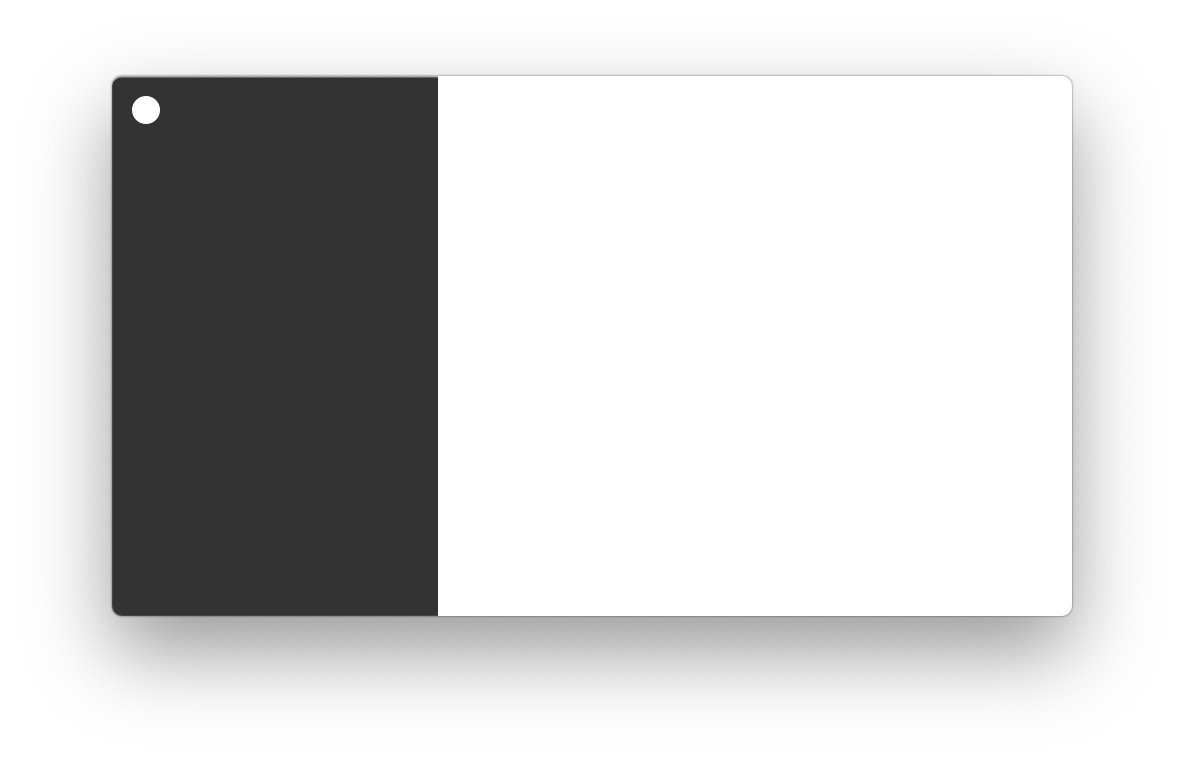
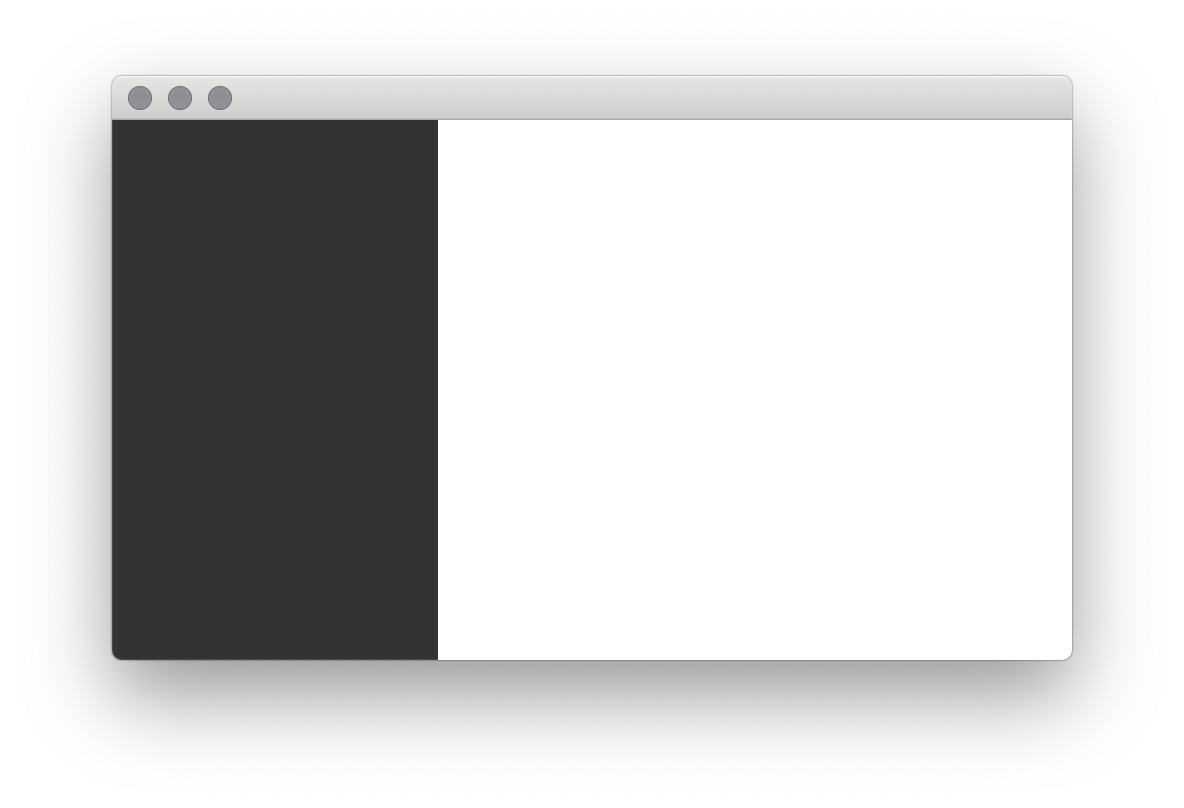
We will build this:
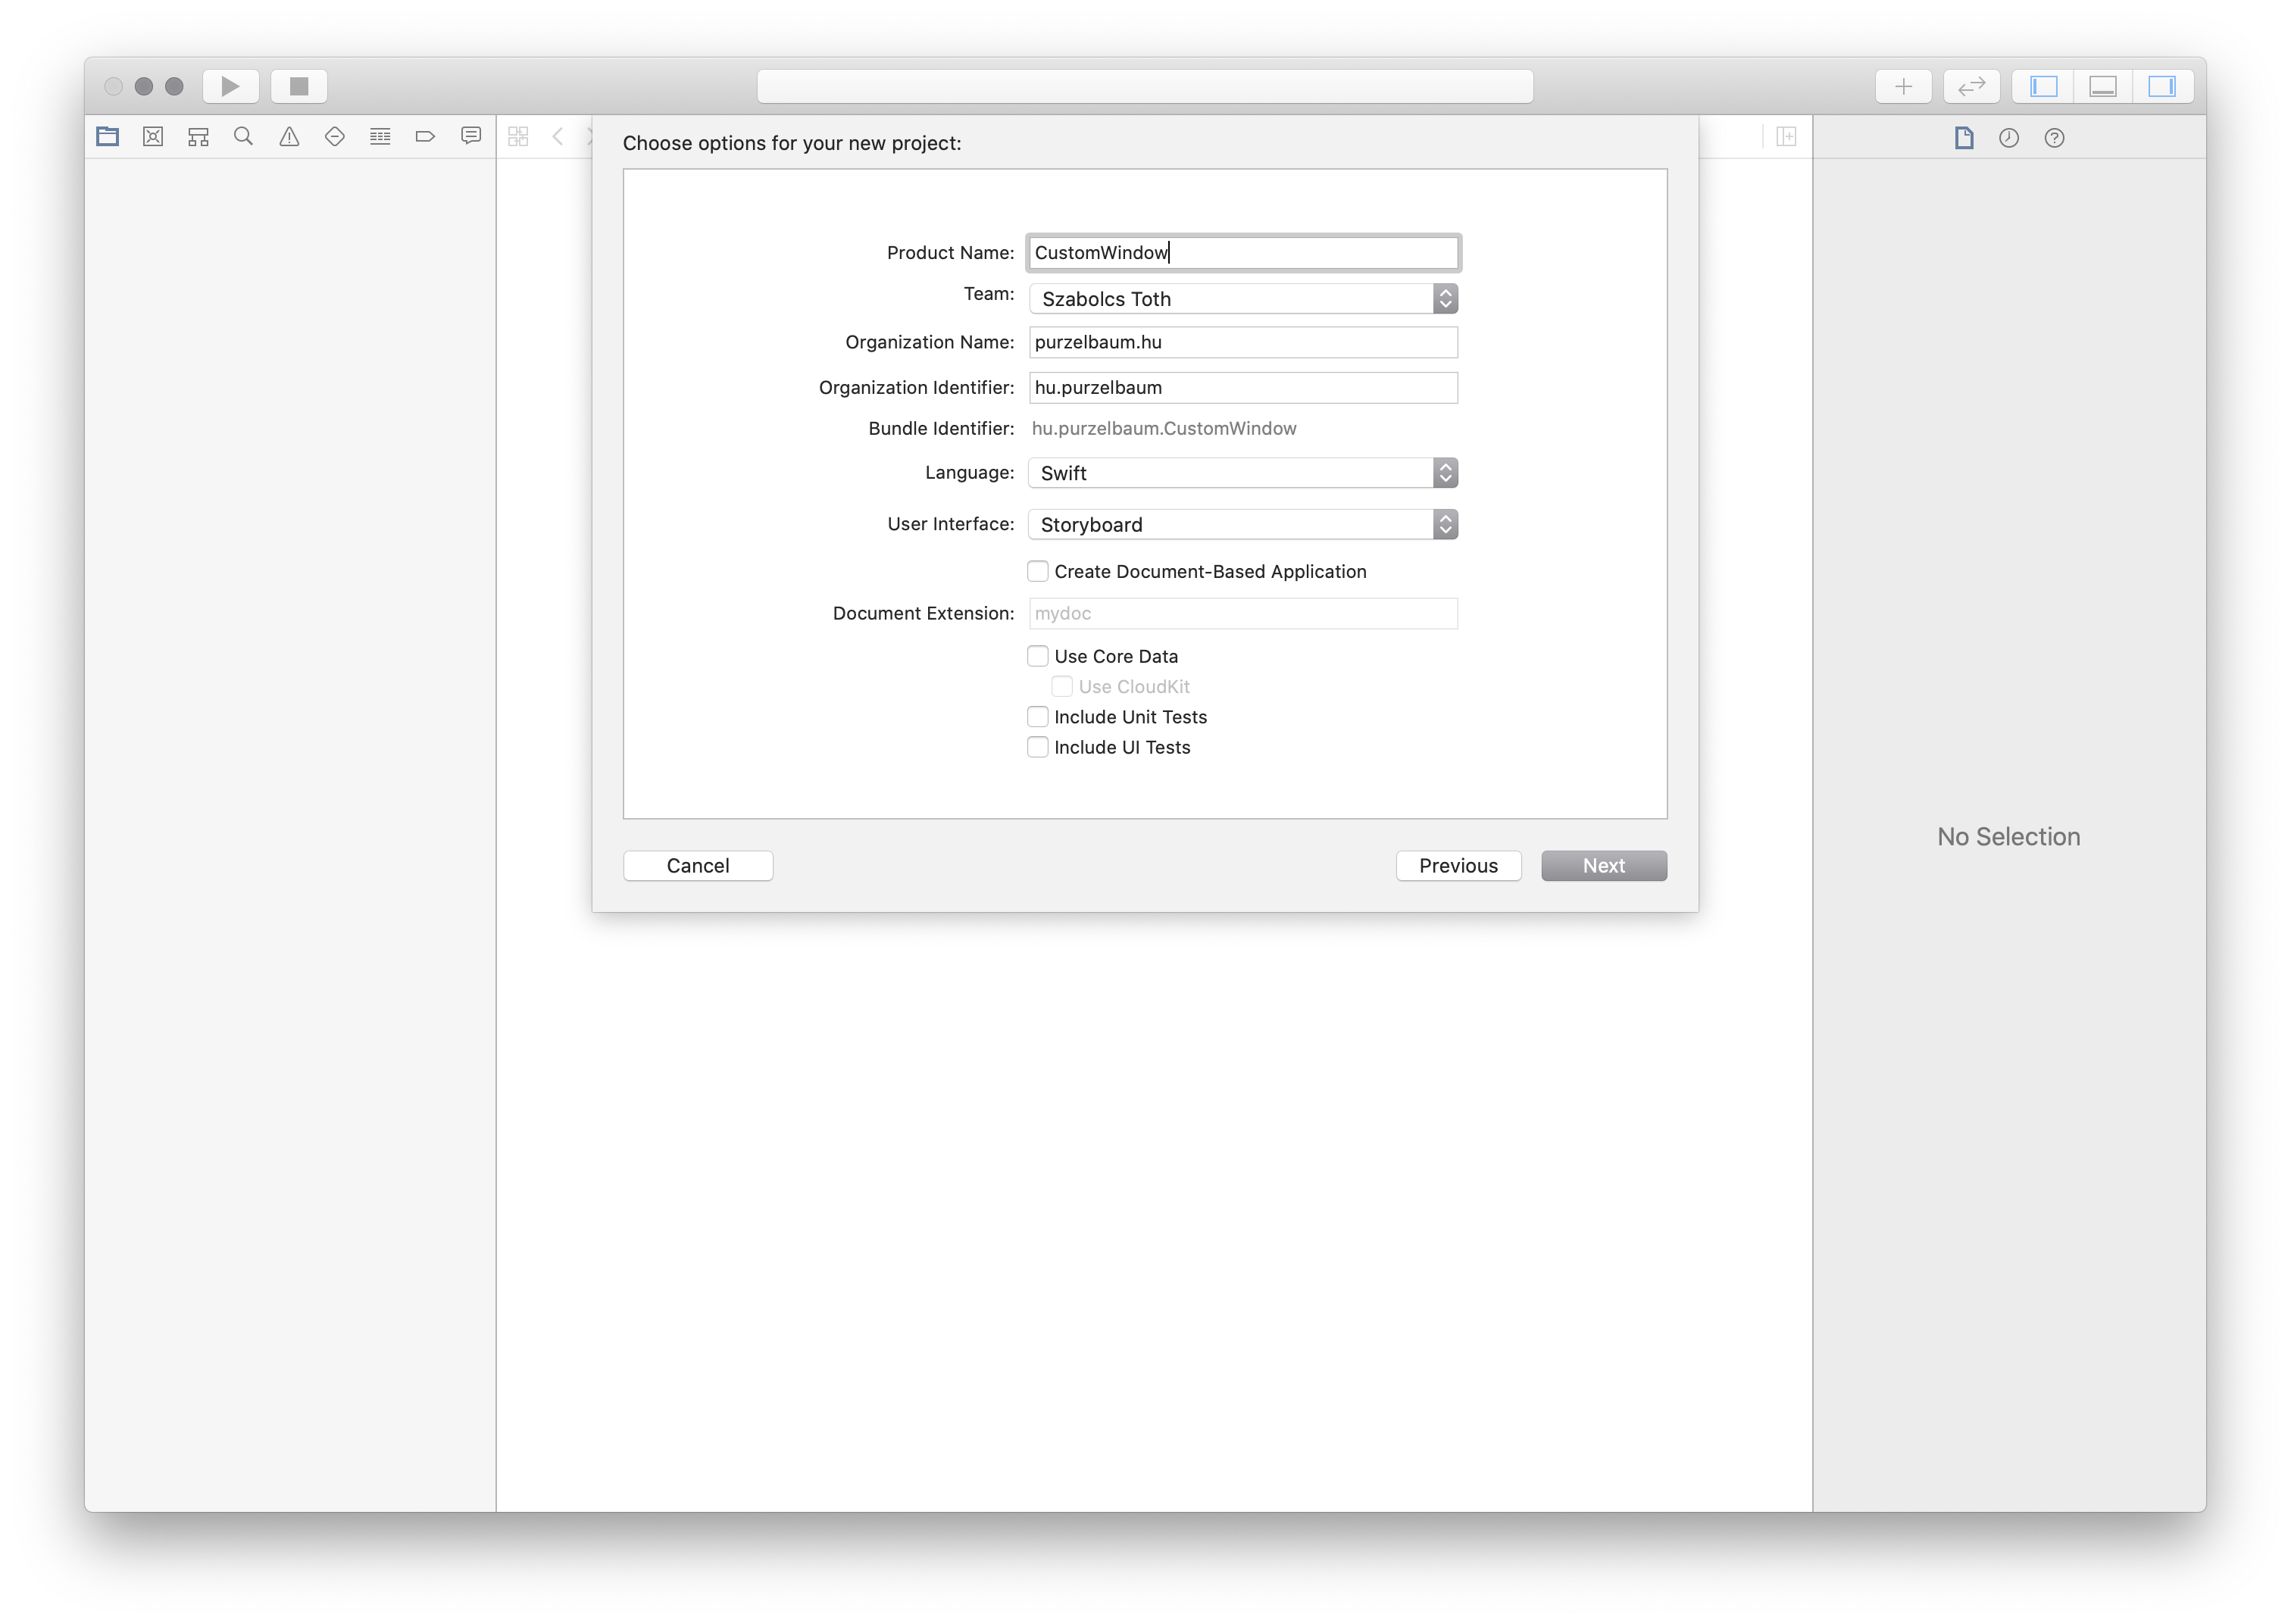
Step 1.
Create a project in XCode with Swift and Storyboard.
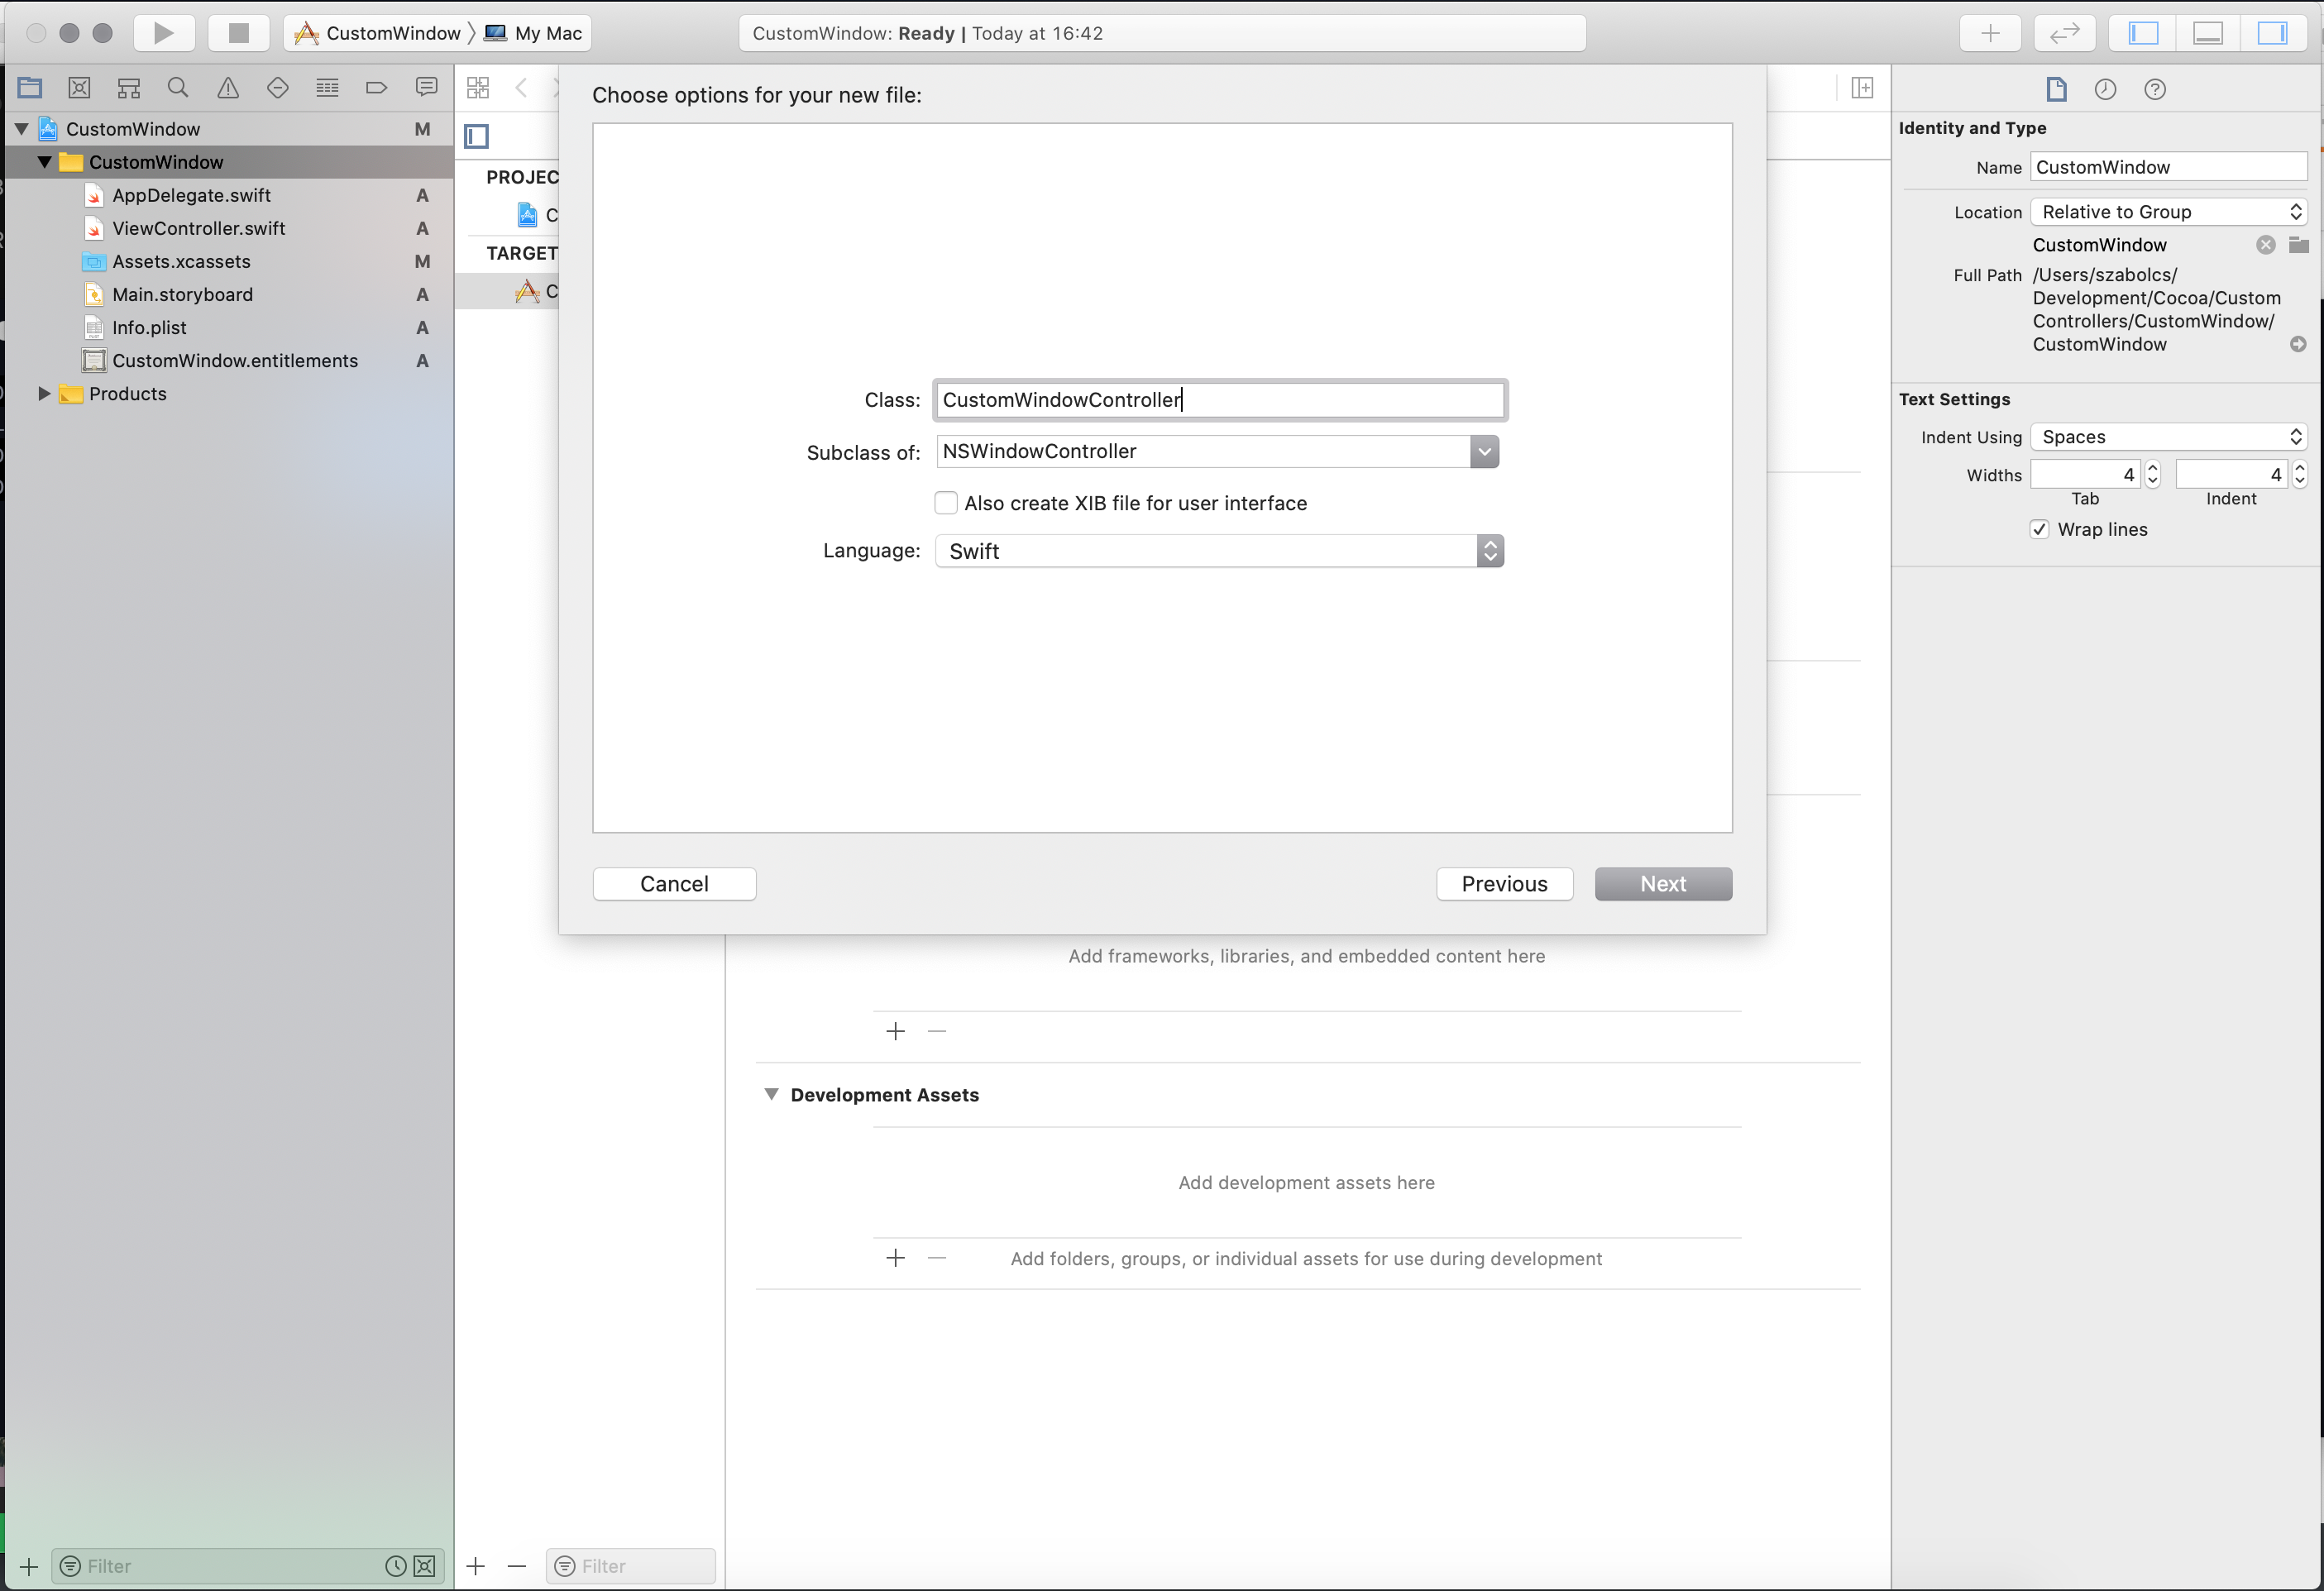
Step 2.
Add a new NSWindowController.swift file to the project
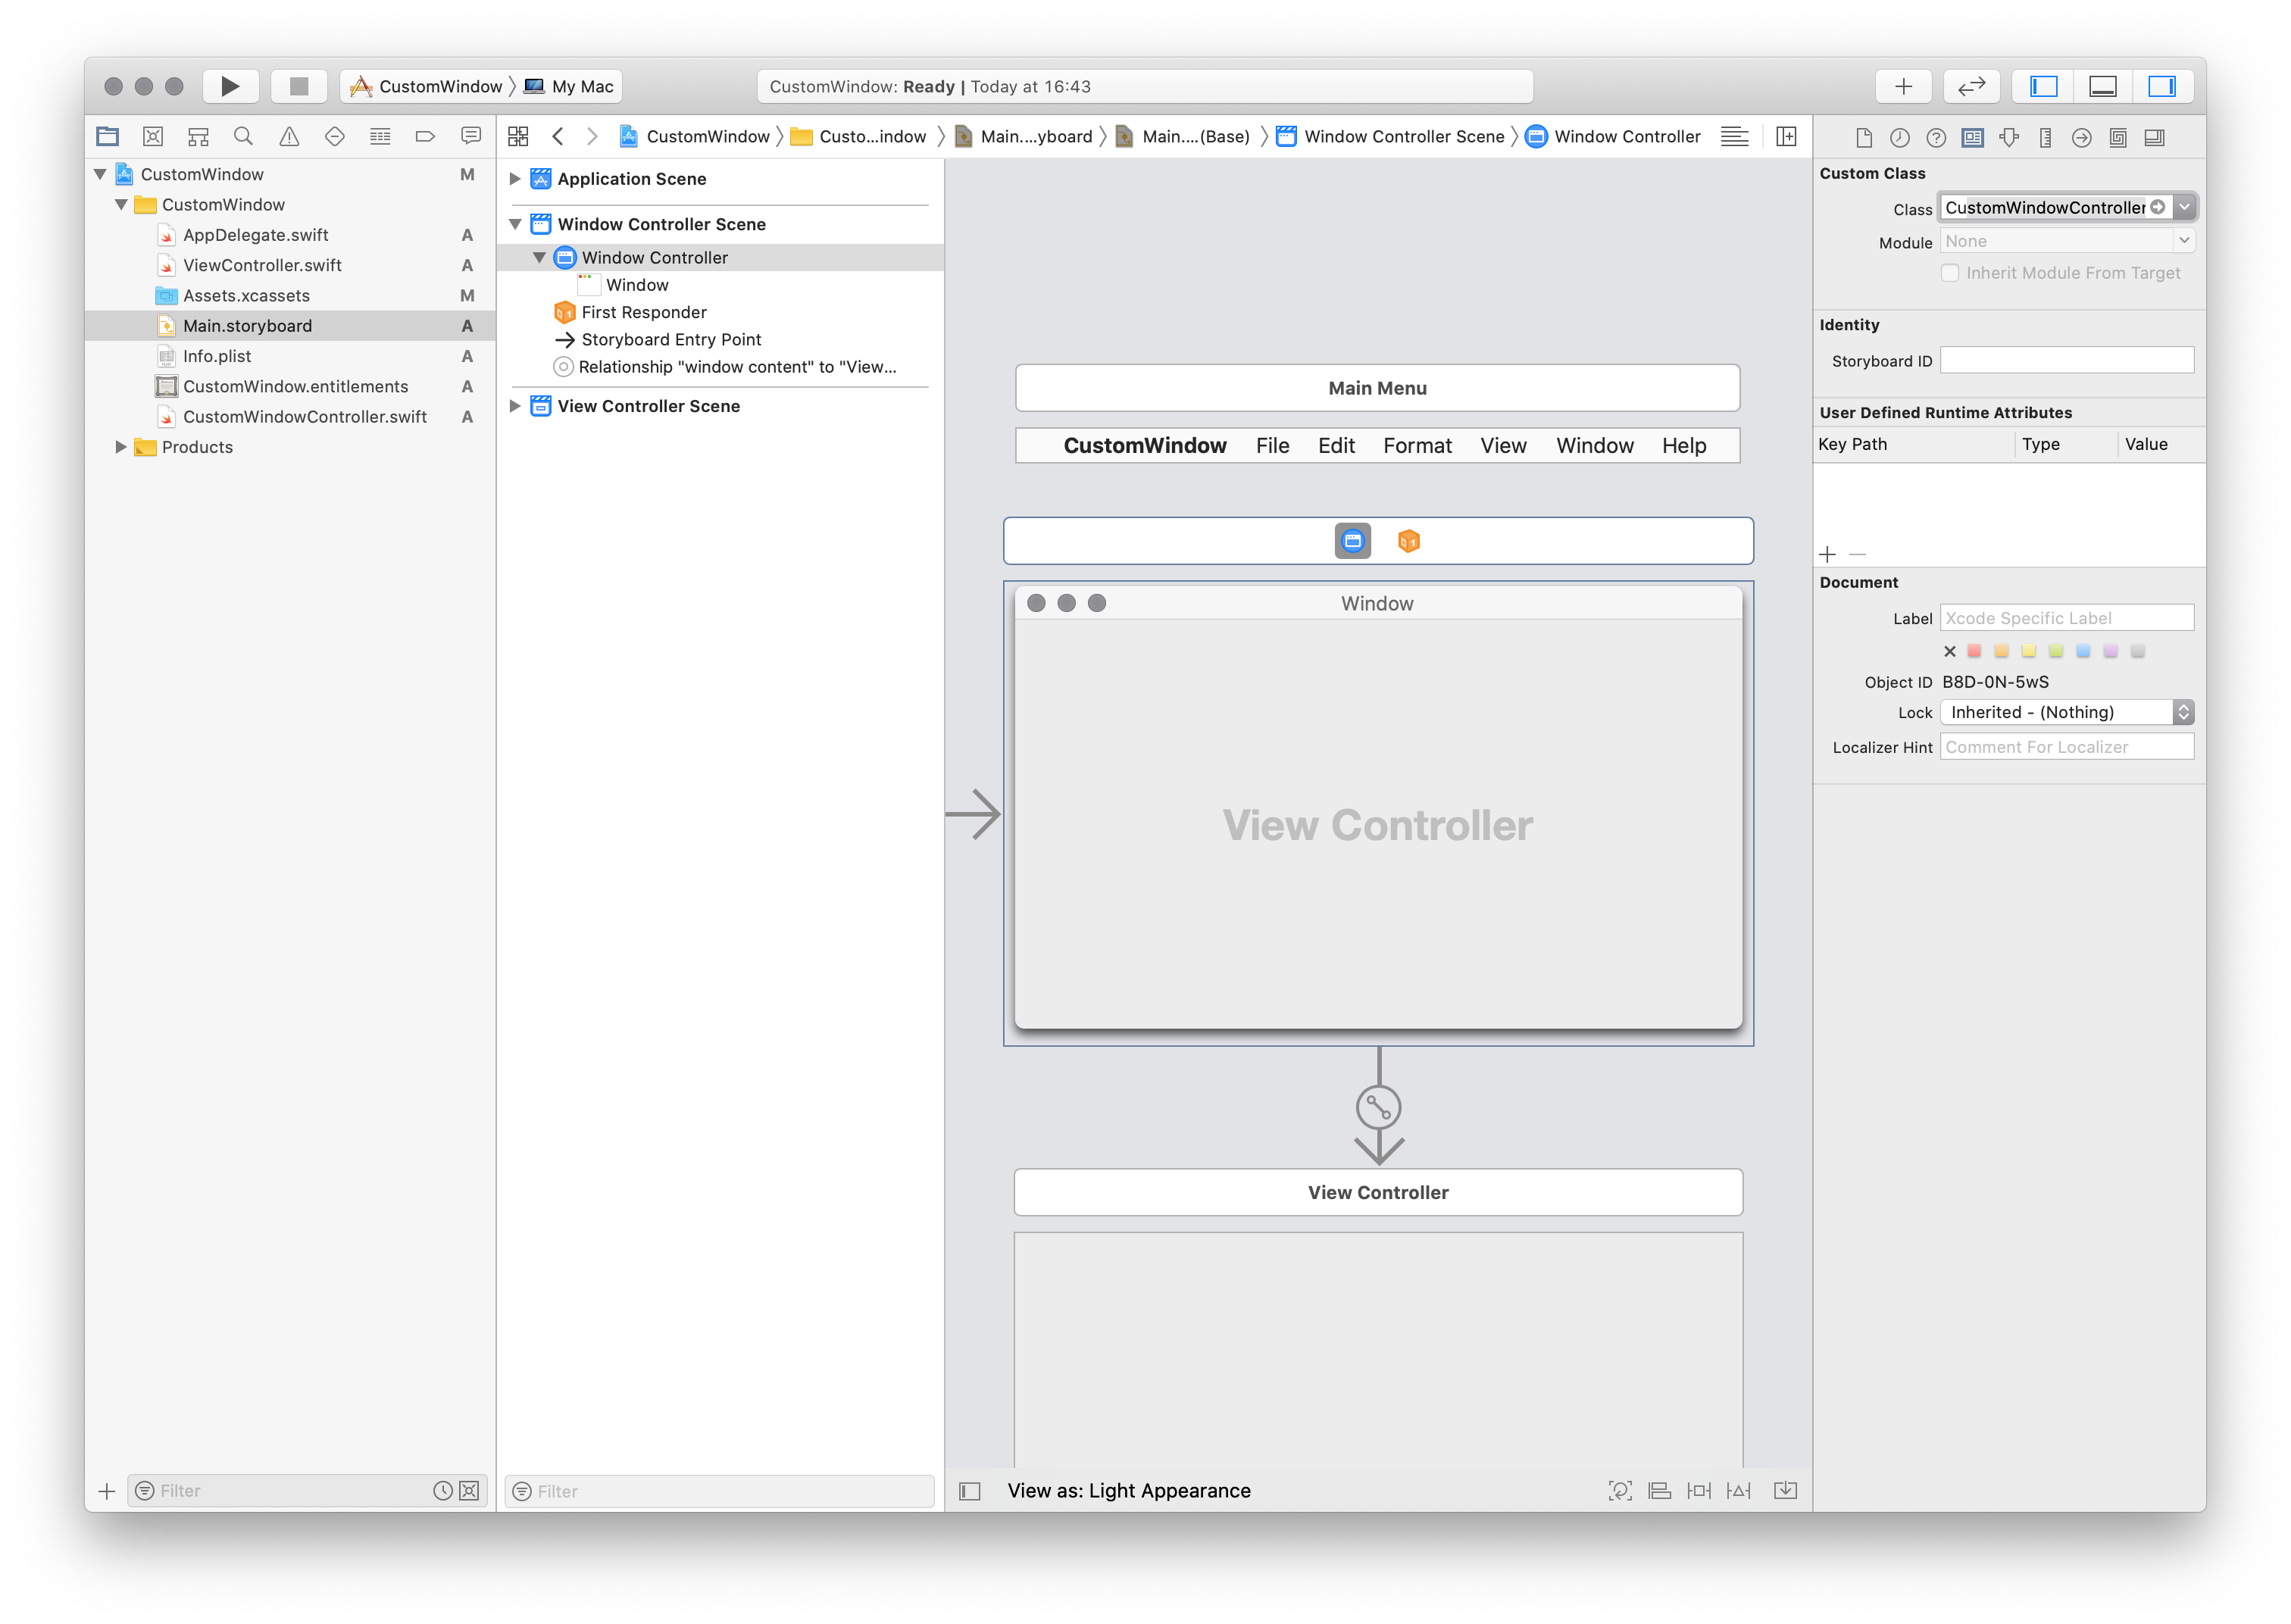
Step 3.
Connect the new custom controller with Storyboard element
Step 4.
Add some code to our CustomWindowController.swift
override func windowDidLoad() {
        super.windowDidLoad()

        self.configureWindowAppearance()

    }

    func configureWindowAppearance() {
        if let window = window {
            if let view = window.contentView {
                view.wantsLayer = true
                view.layer?.backgroundColor = NSColor.white.cgColor
            }
        }
    }
If we run our app, we’ll see the following, still ugly but at least the background is white now…

We don’t need the Window title, so we add configureWindowAppearance() method the following:
window.titleVisibility = .hidden
Step 5.
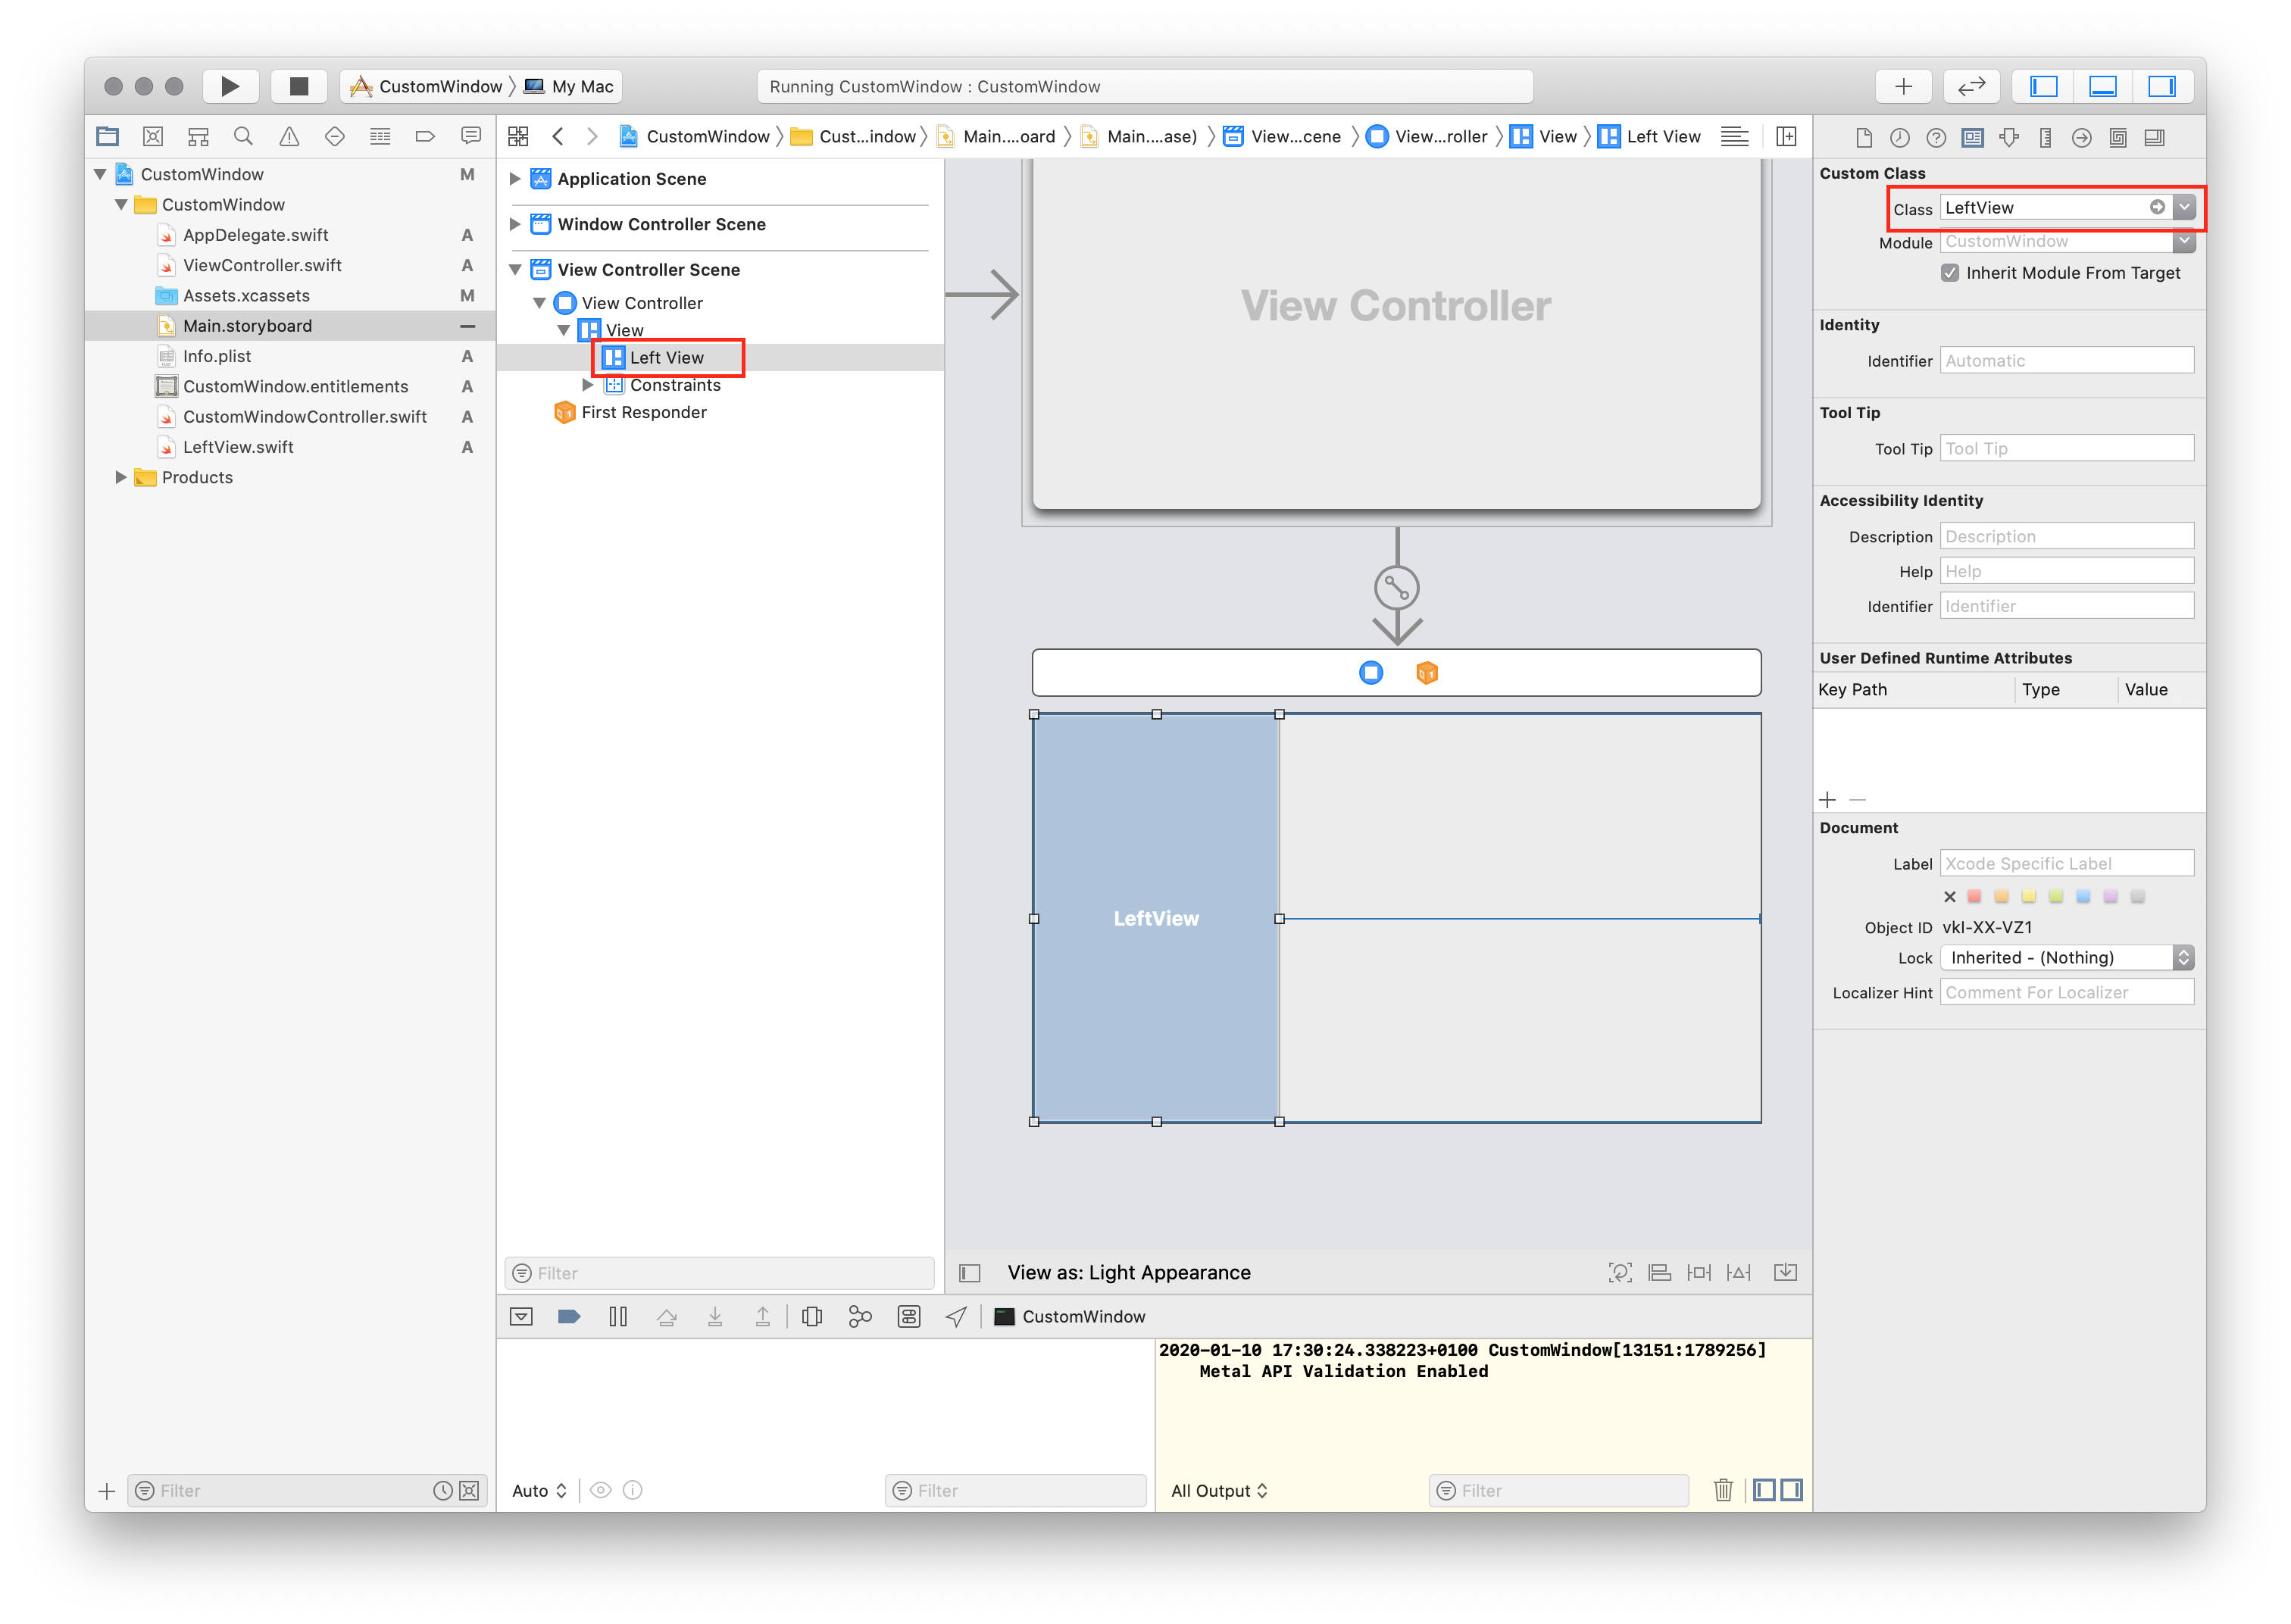
Add a CustomView on Storyboard to our ViewController and add an NSView Cocoa class file.
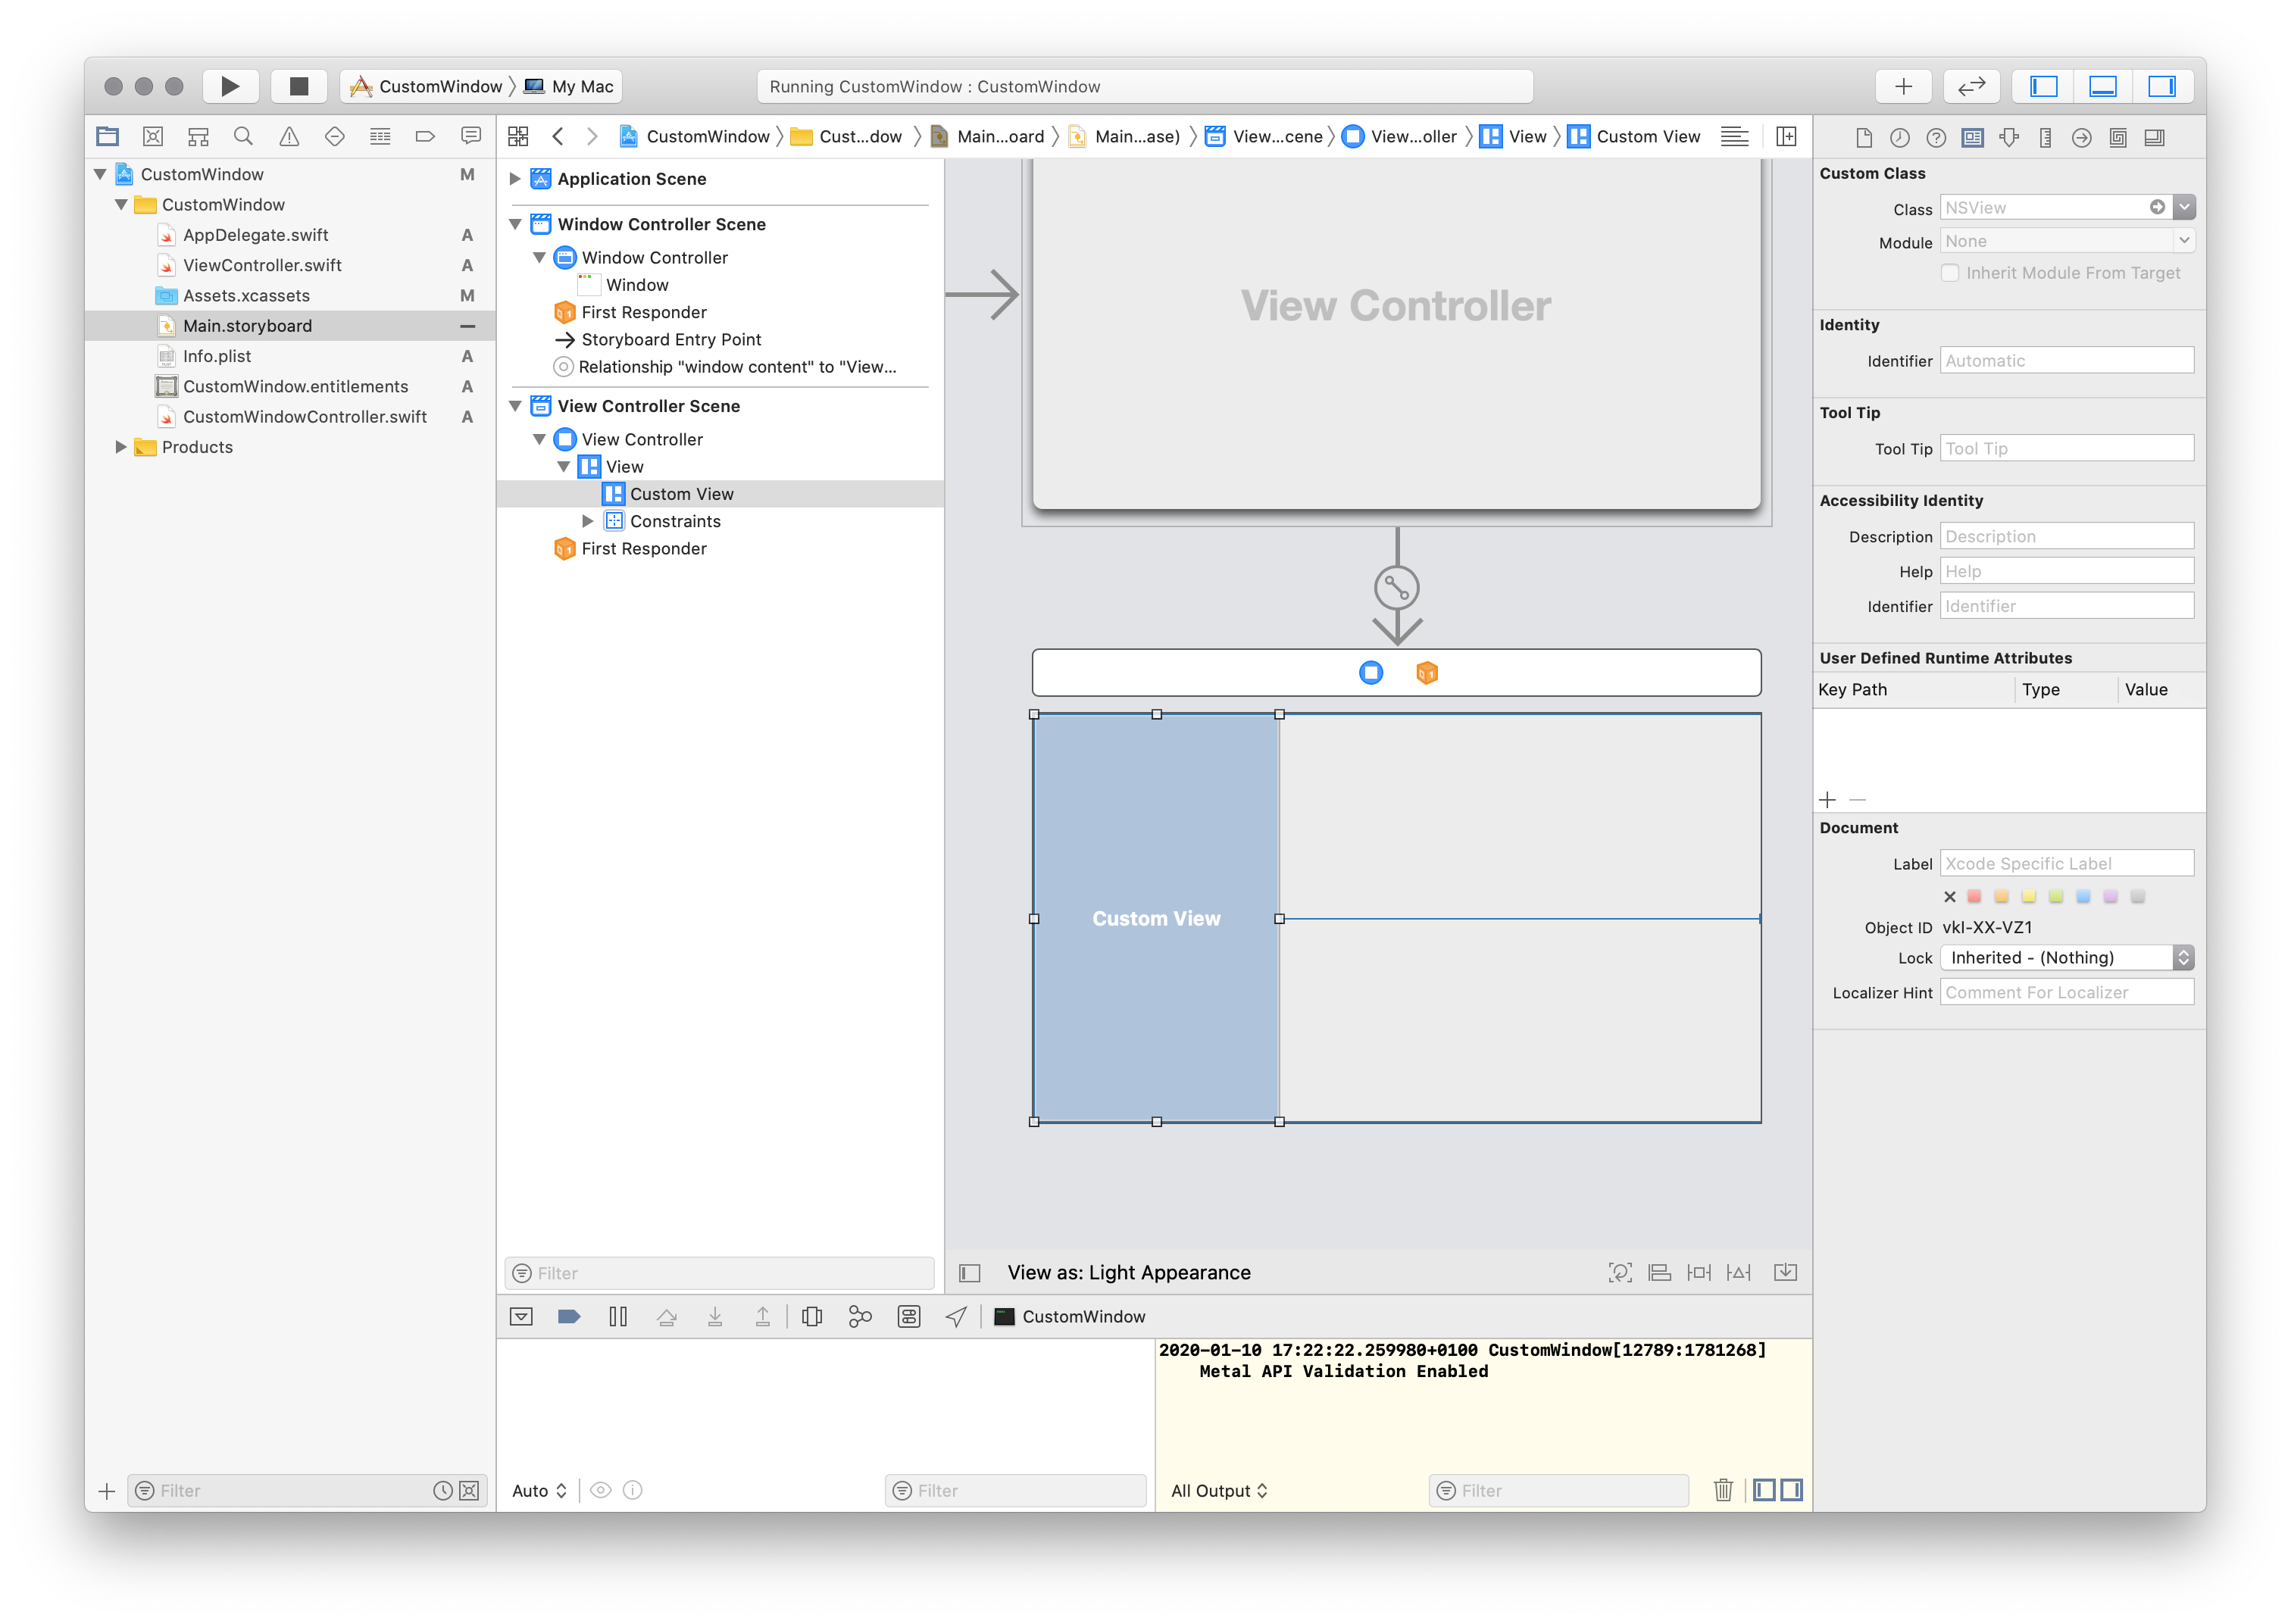
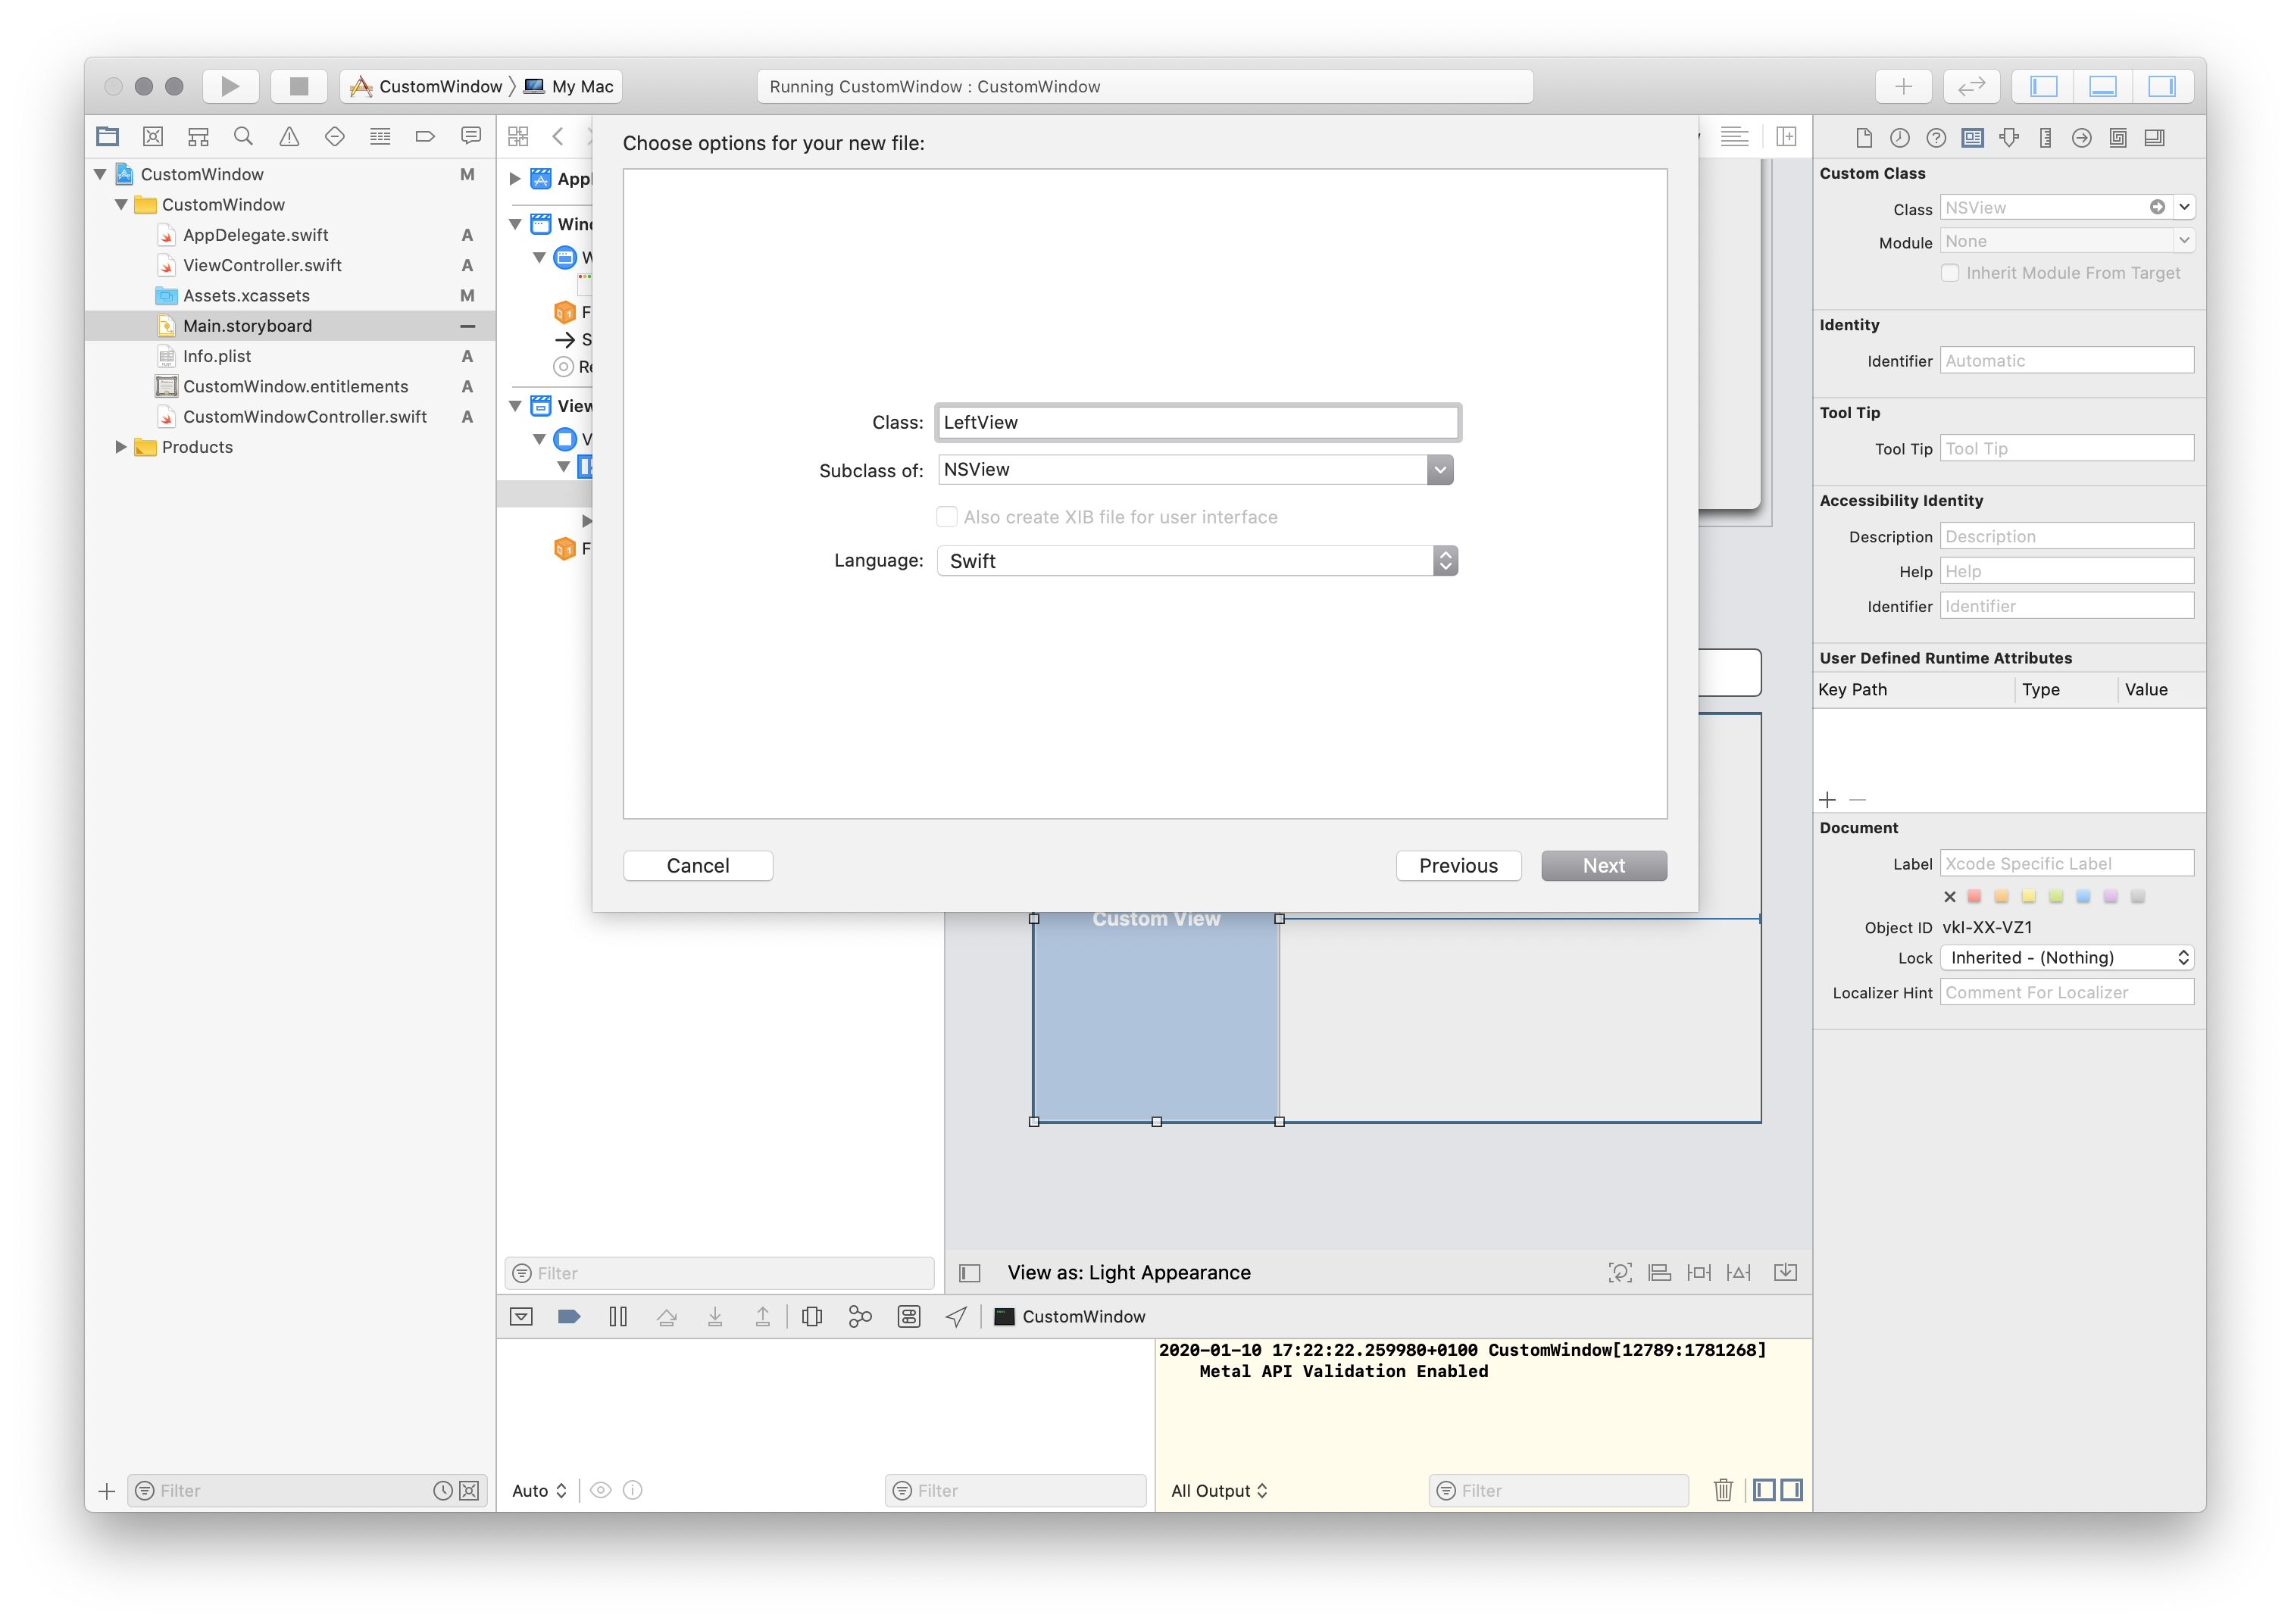
Don’t forget to add our new file to our CustomView.
Run again our app to check, where we are. Not bad, but can be much-much better.
Step 6. Remove titlebar, since can draw nicer controllers. There are two ways to do it.
window.styleMask.remove(.titled)It seems to work, but actually not. I will show you later, this code will break your NSTextField.
 window.styleMask.remove(.closable) // close button (red)
 window.styleMask.remove(.miniaturizable) // miniaturize button (yellow)
 window.styleMask.remove(.resizable) // resize button (green)
This code removes the buttons but titlebar stays there, so add these two lines more:

```swift
    window.titlebarAppearsTransparent = true
    window.styleMask.insert(.fullSizeContentView)

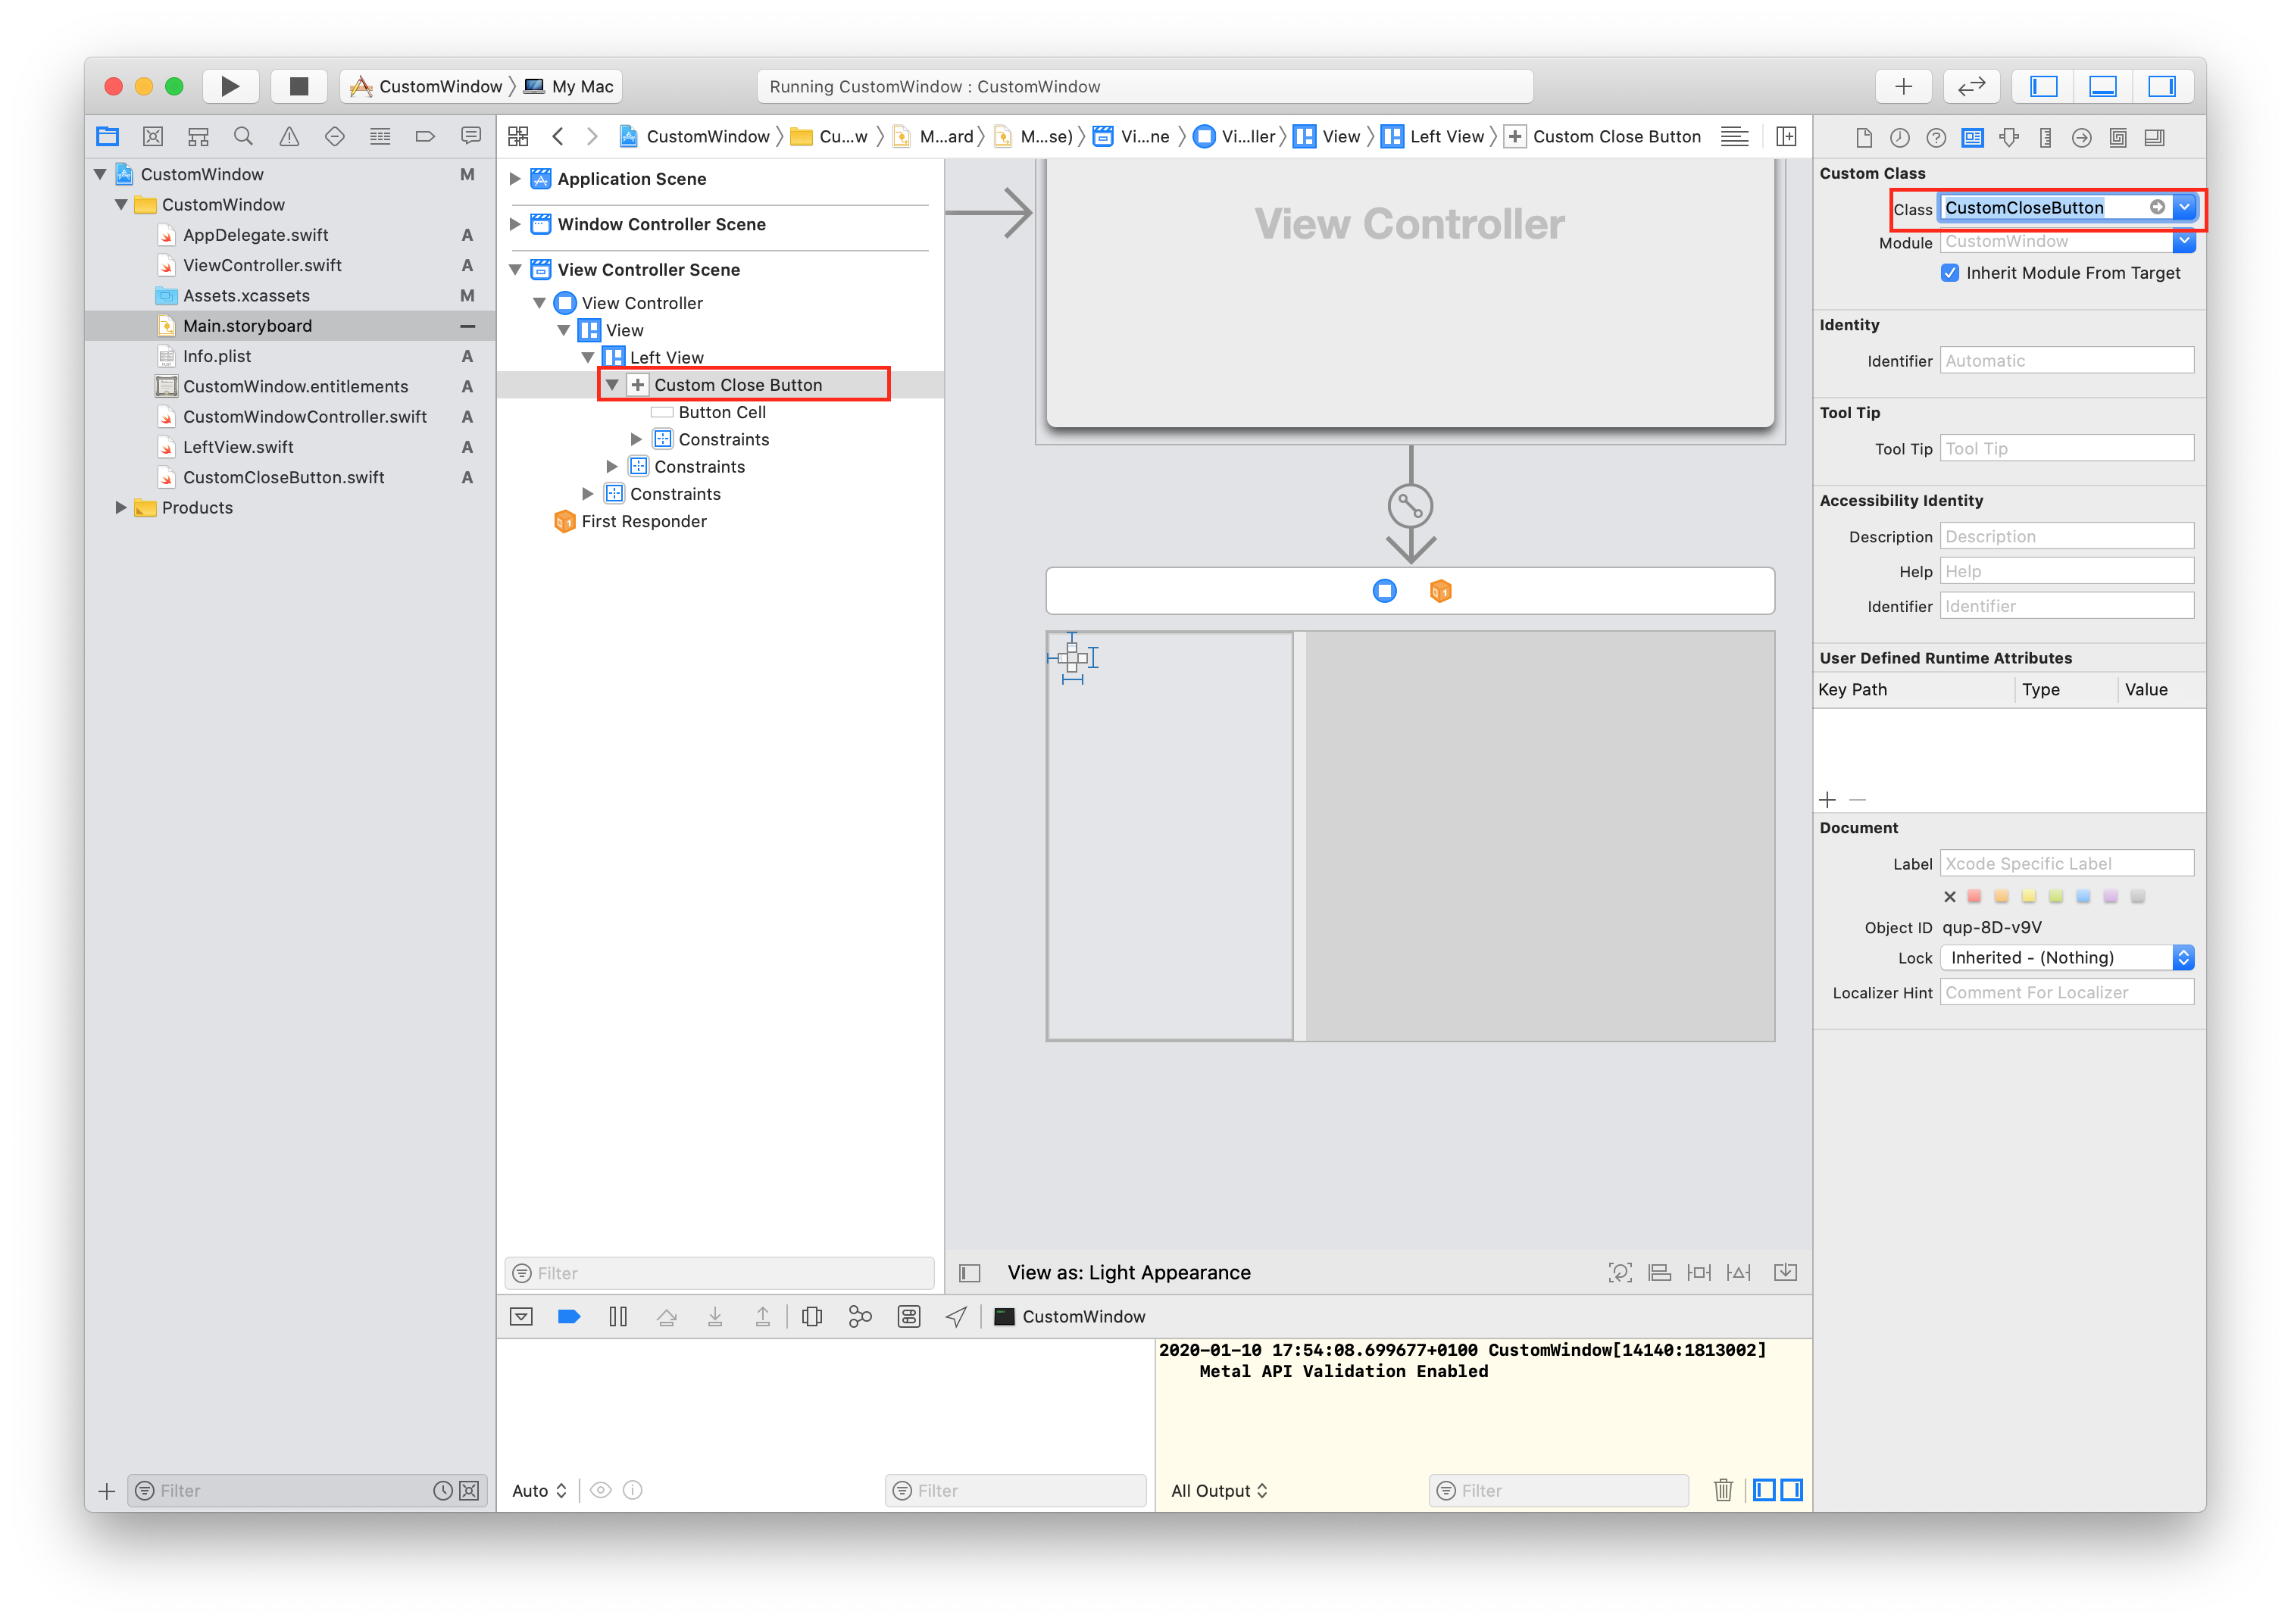
Step 7.
Add an Image button to the Storyboard, then create a new NSButton class and connect them.
You will need 3 versions of the button image. 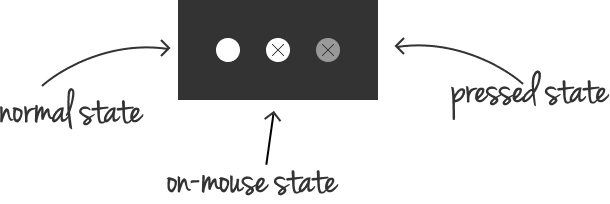
Export the images one-by-one as .pdf and add to project assets.
Step 8. Jerry Shan made an excellent video about custon NSButton. After watching it, add the following code to your CustomCloseButton.swift
var mouseIsInside = false

    override func awakeFromNib() {
    self.image = NSImage(named:"Custom close button")
        let trackingArea = NSTrackingArea(rect: self.bounds, options: NSTrackingArea.Options(rawValue: 129), owner: self, userInfo: nil)
        self.addTrackingArea(trackingArea)
    }

    override func mouseEntered(with event: NSEvent) {
    self.image = NSImage(named:"Custom on-mouse close button")
        mouseIsInside = true
    }

    override func mouseExited(with event: NSEvent) {
        self.image = NSImage(named:"Custom close button")
        mouseIsInside = false
    }

    override func mouseDown(with event: NSEvent) {
    self.image = NSImage(named:"Custom pressed close button")
    }

    override func mouseUp(with event: NSEvent) {
        if mouseIsInside {
            NSApplication.shared.terminate(nil)
        } else {
            self.image = NSImage(named:"Custom close button")
        }
    }
Step 9.
Run the code for the final result.
Source code: Github