Time to time the debate restarts whether using Storyboard is the proper way of interface desing. On iPhone it is quite simple and you can find several articles or tutorials. I wanted to try it on macOS and hardly found anything up-to-date information. Hereby I share what I found, maybe it can help others.
At the end of the article I indicated all the sources I used.
Step 1.
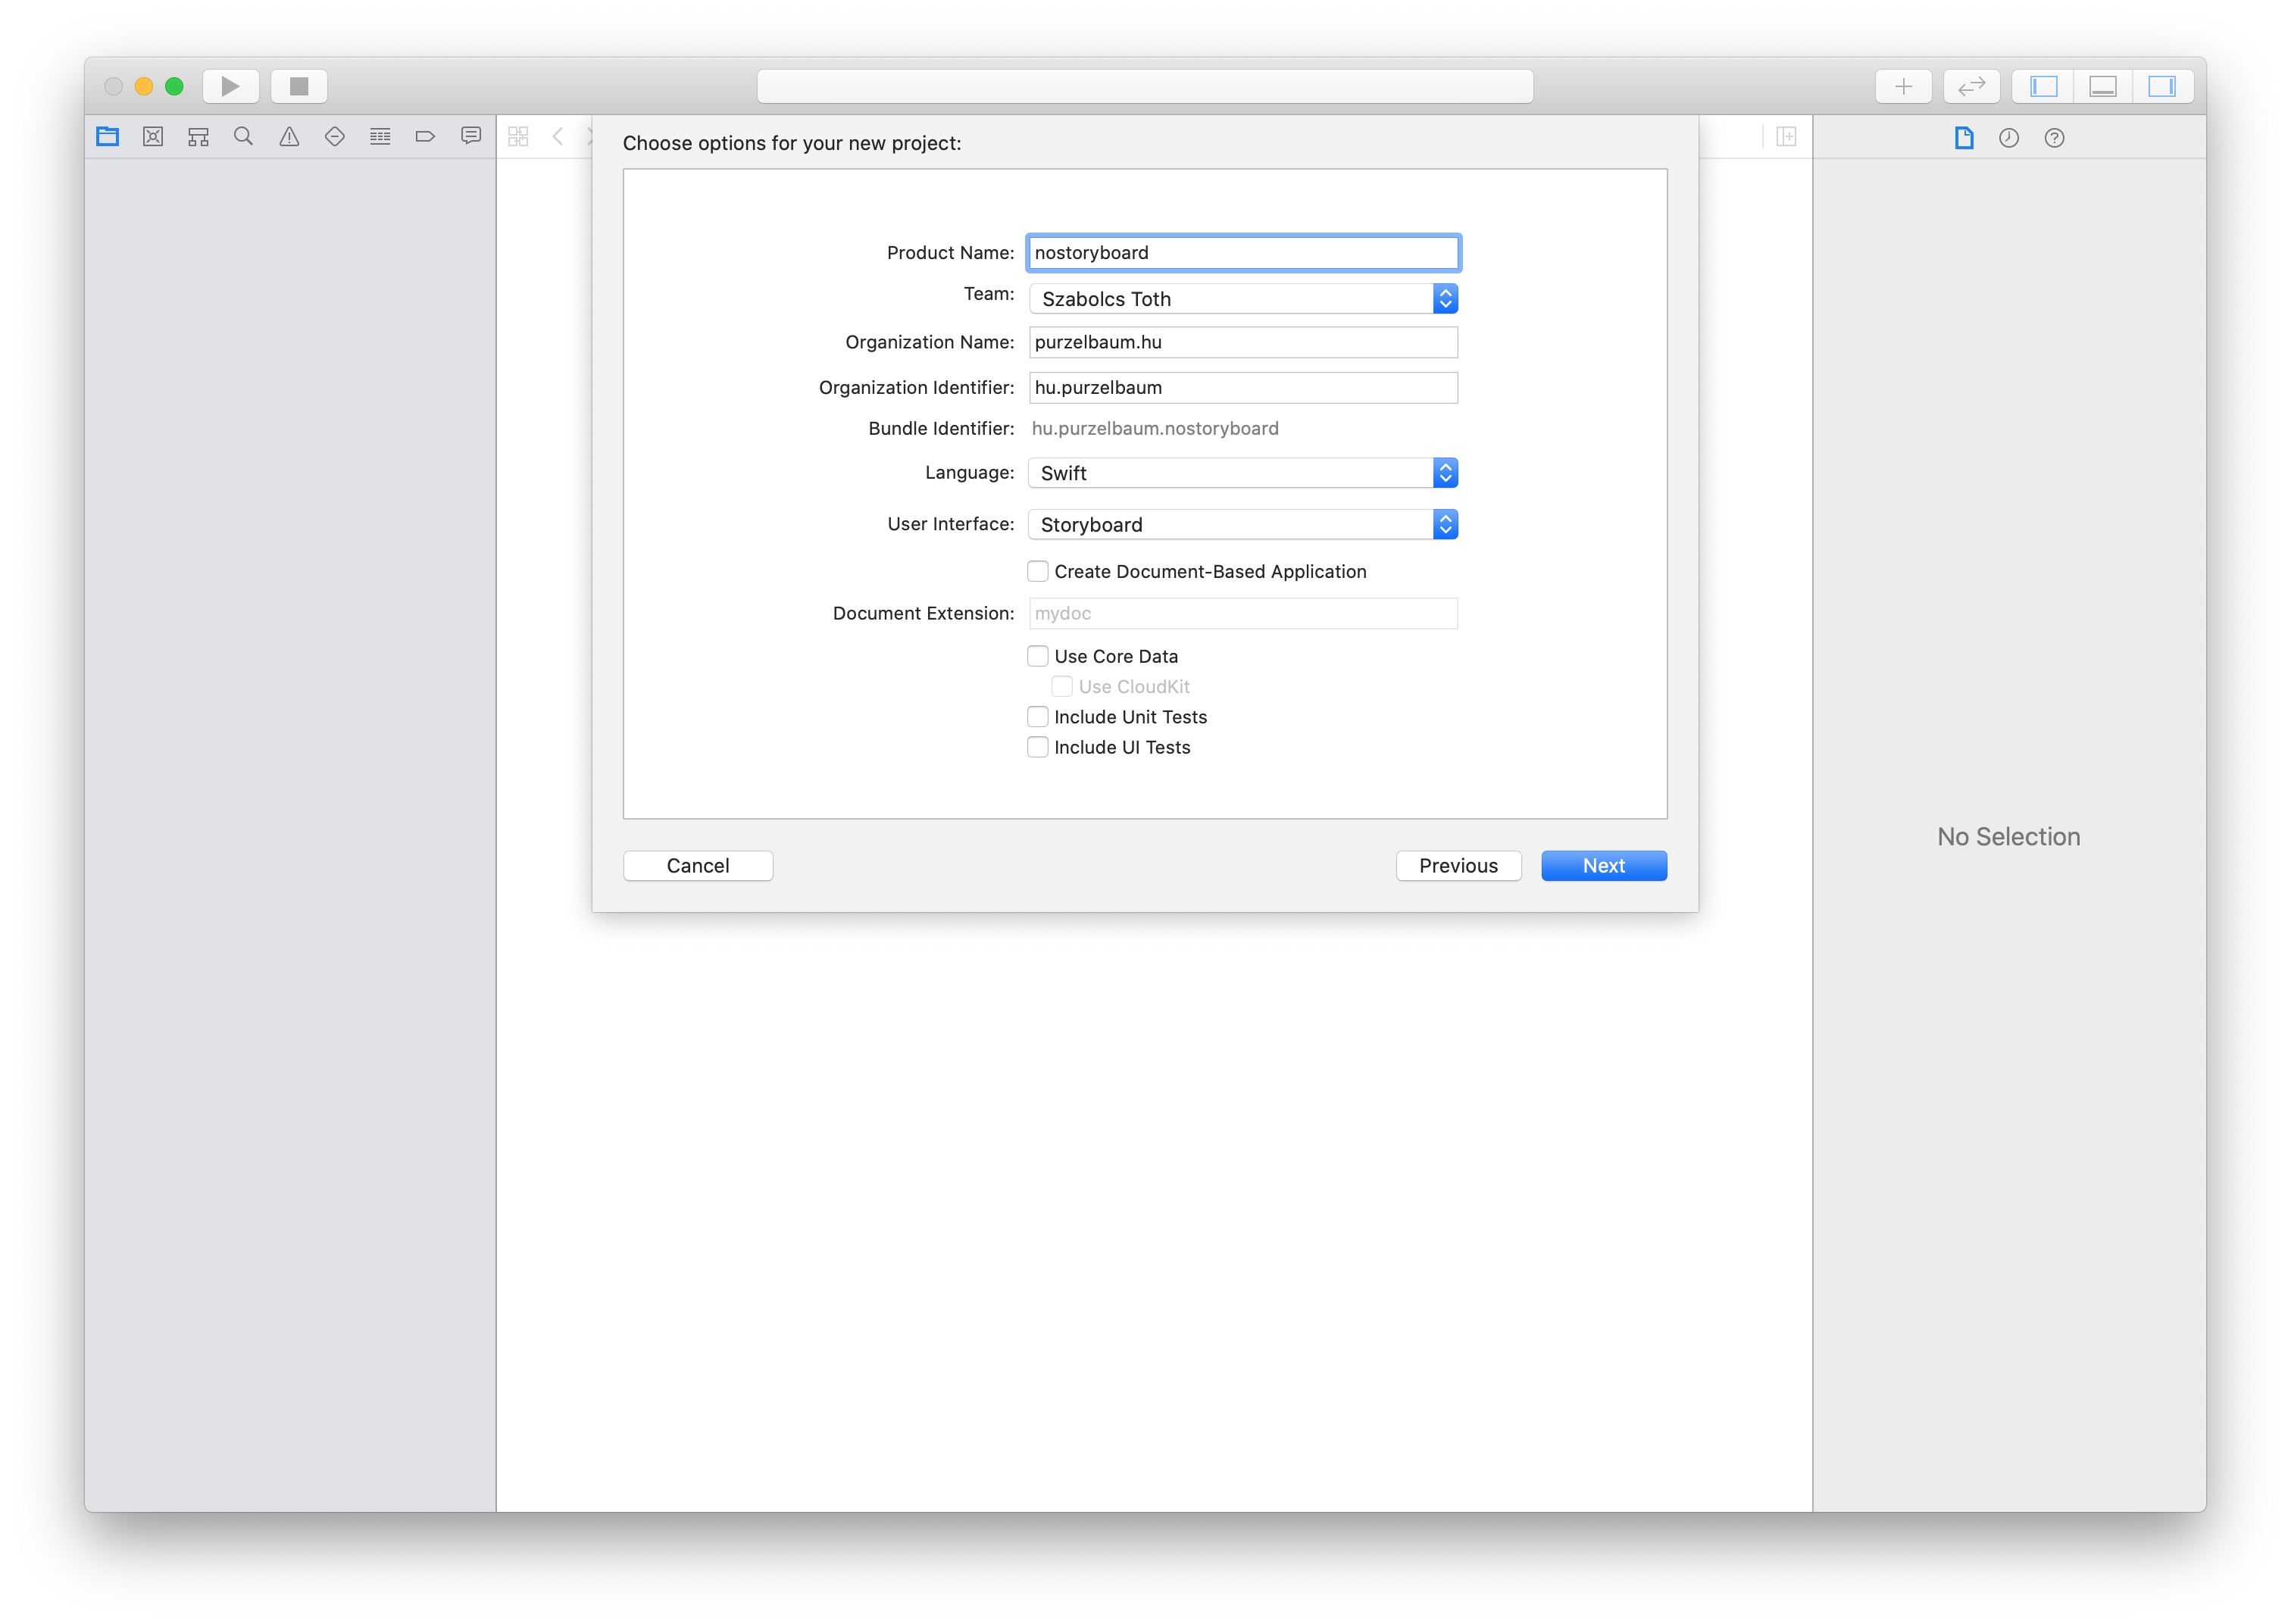
Create a new Swift project with Storyboard.
Step 2.
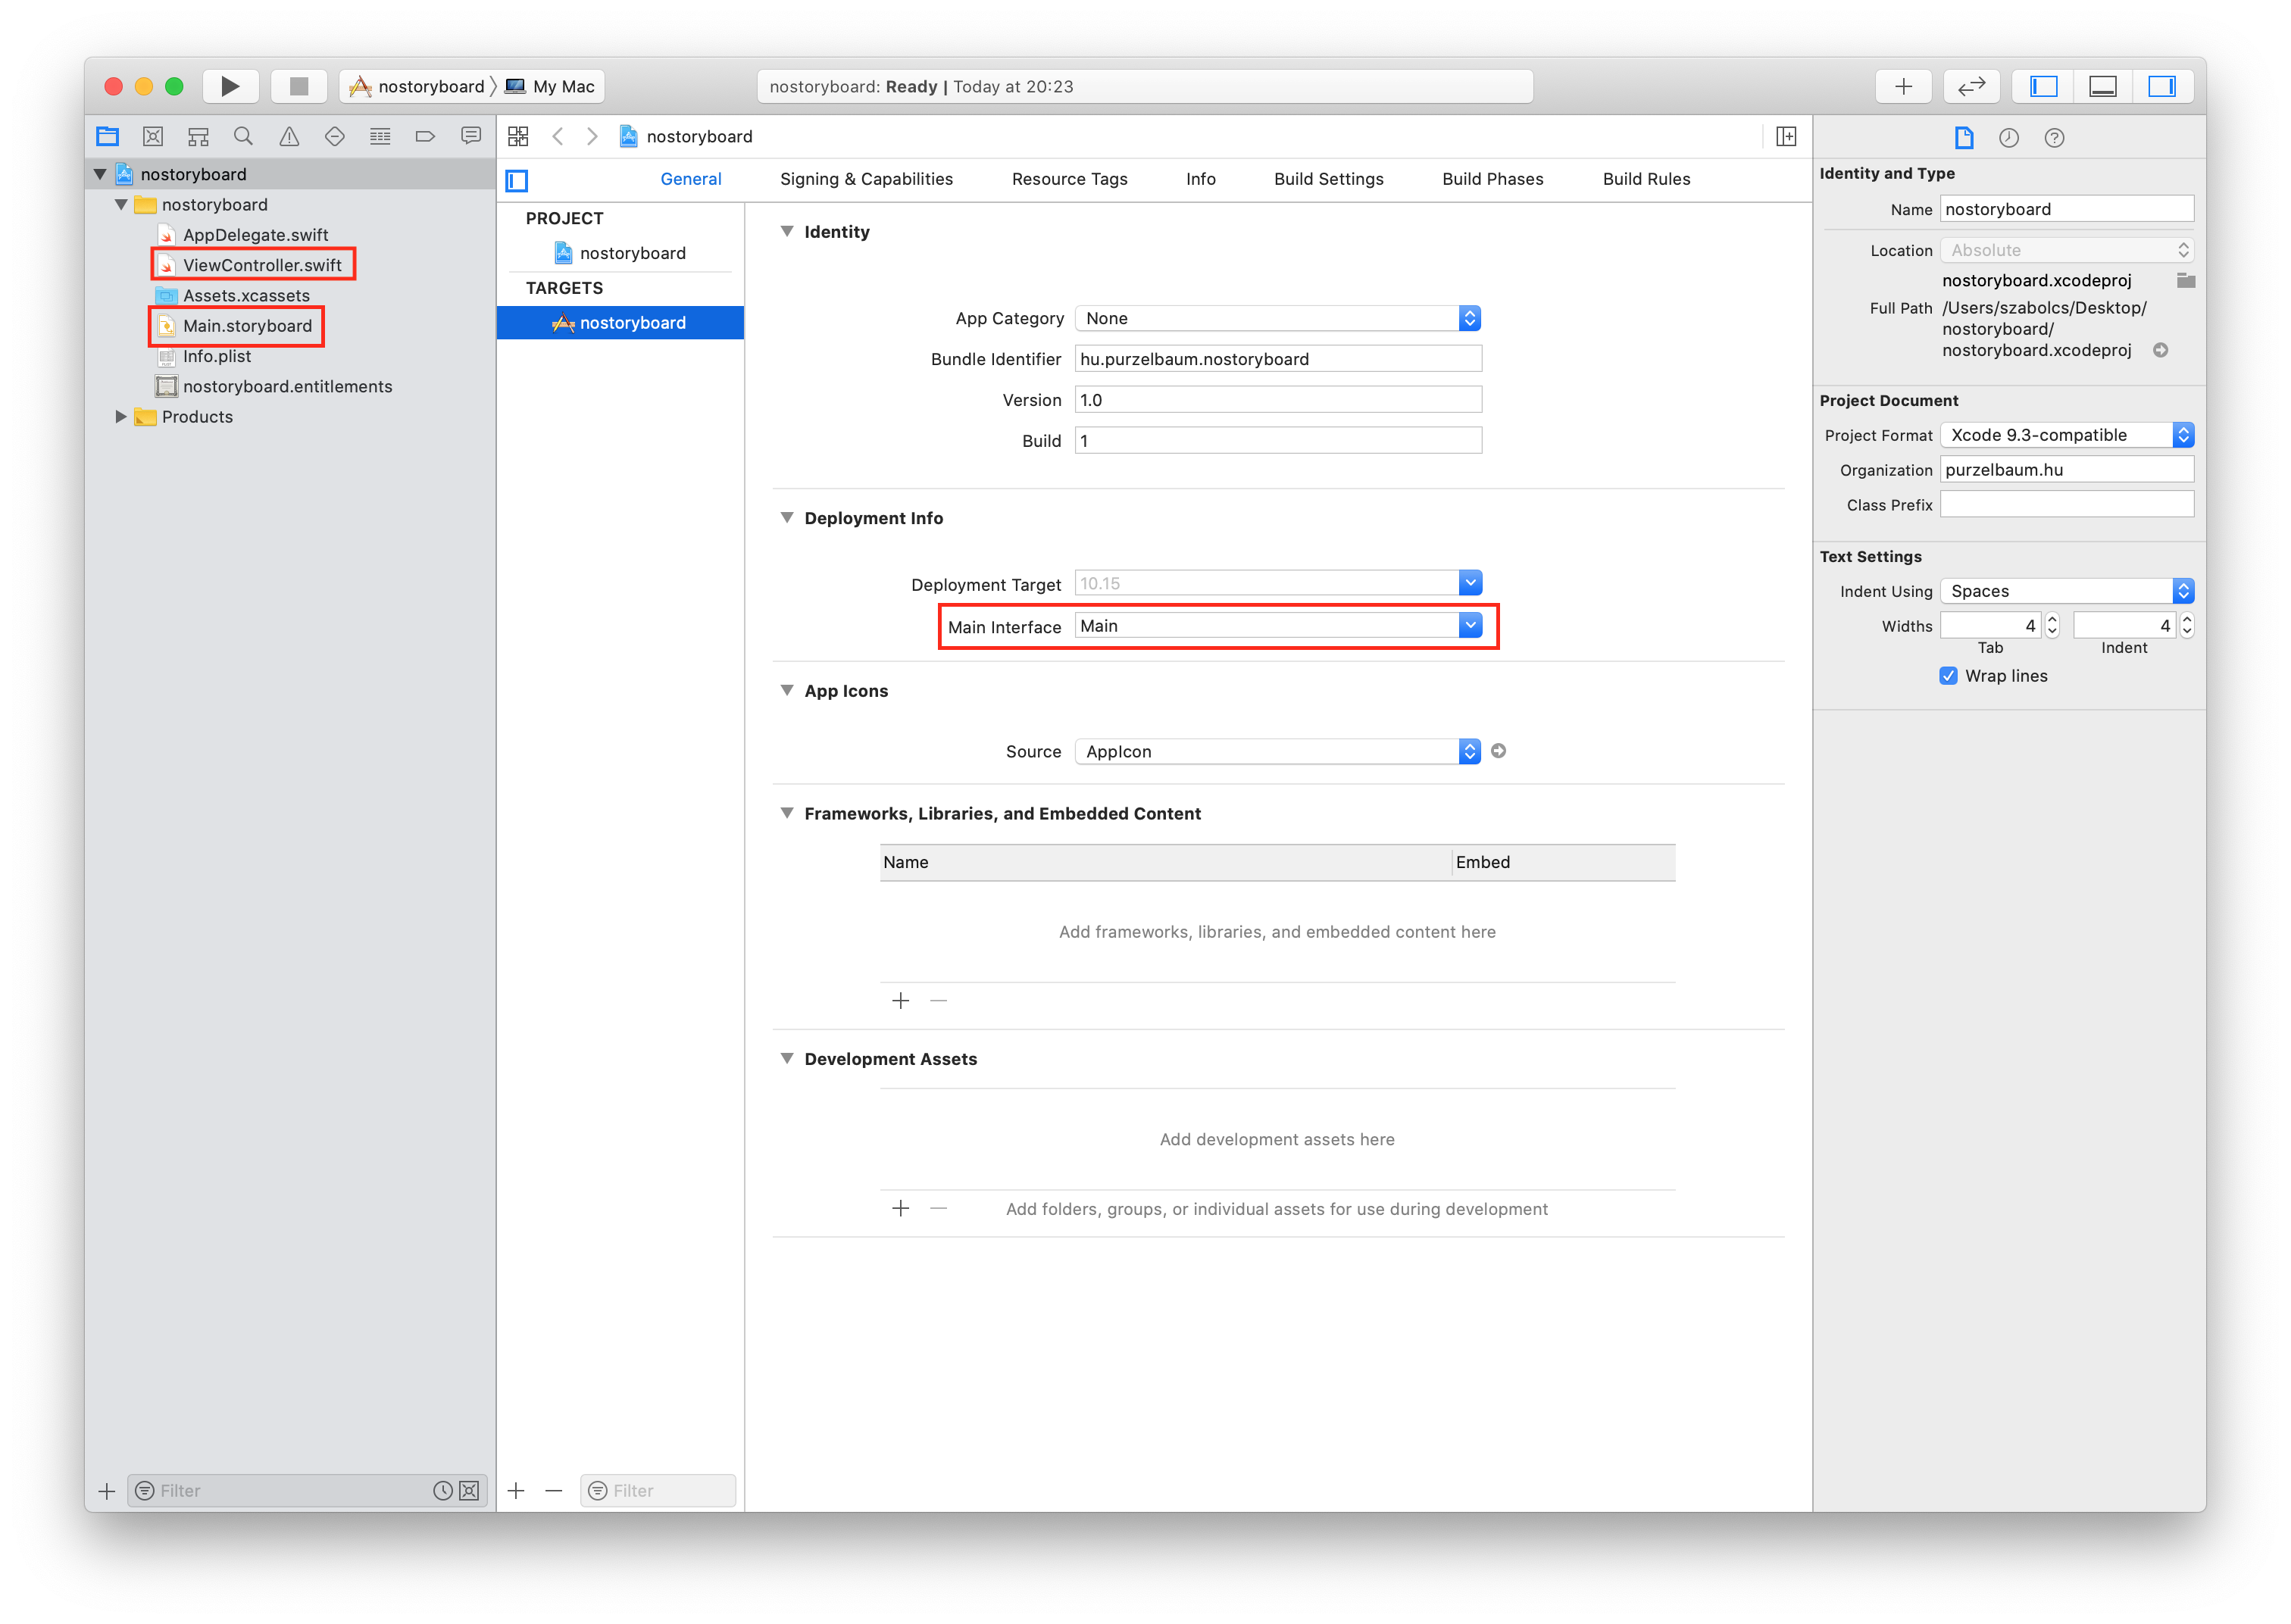
Remove the Main.Storyboard and ViewController.swift, then delete “Main Interface”.
Step 3.
Add a new swift file called: main.swift.
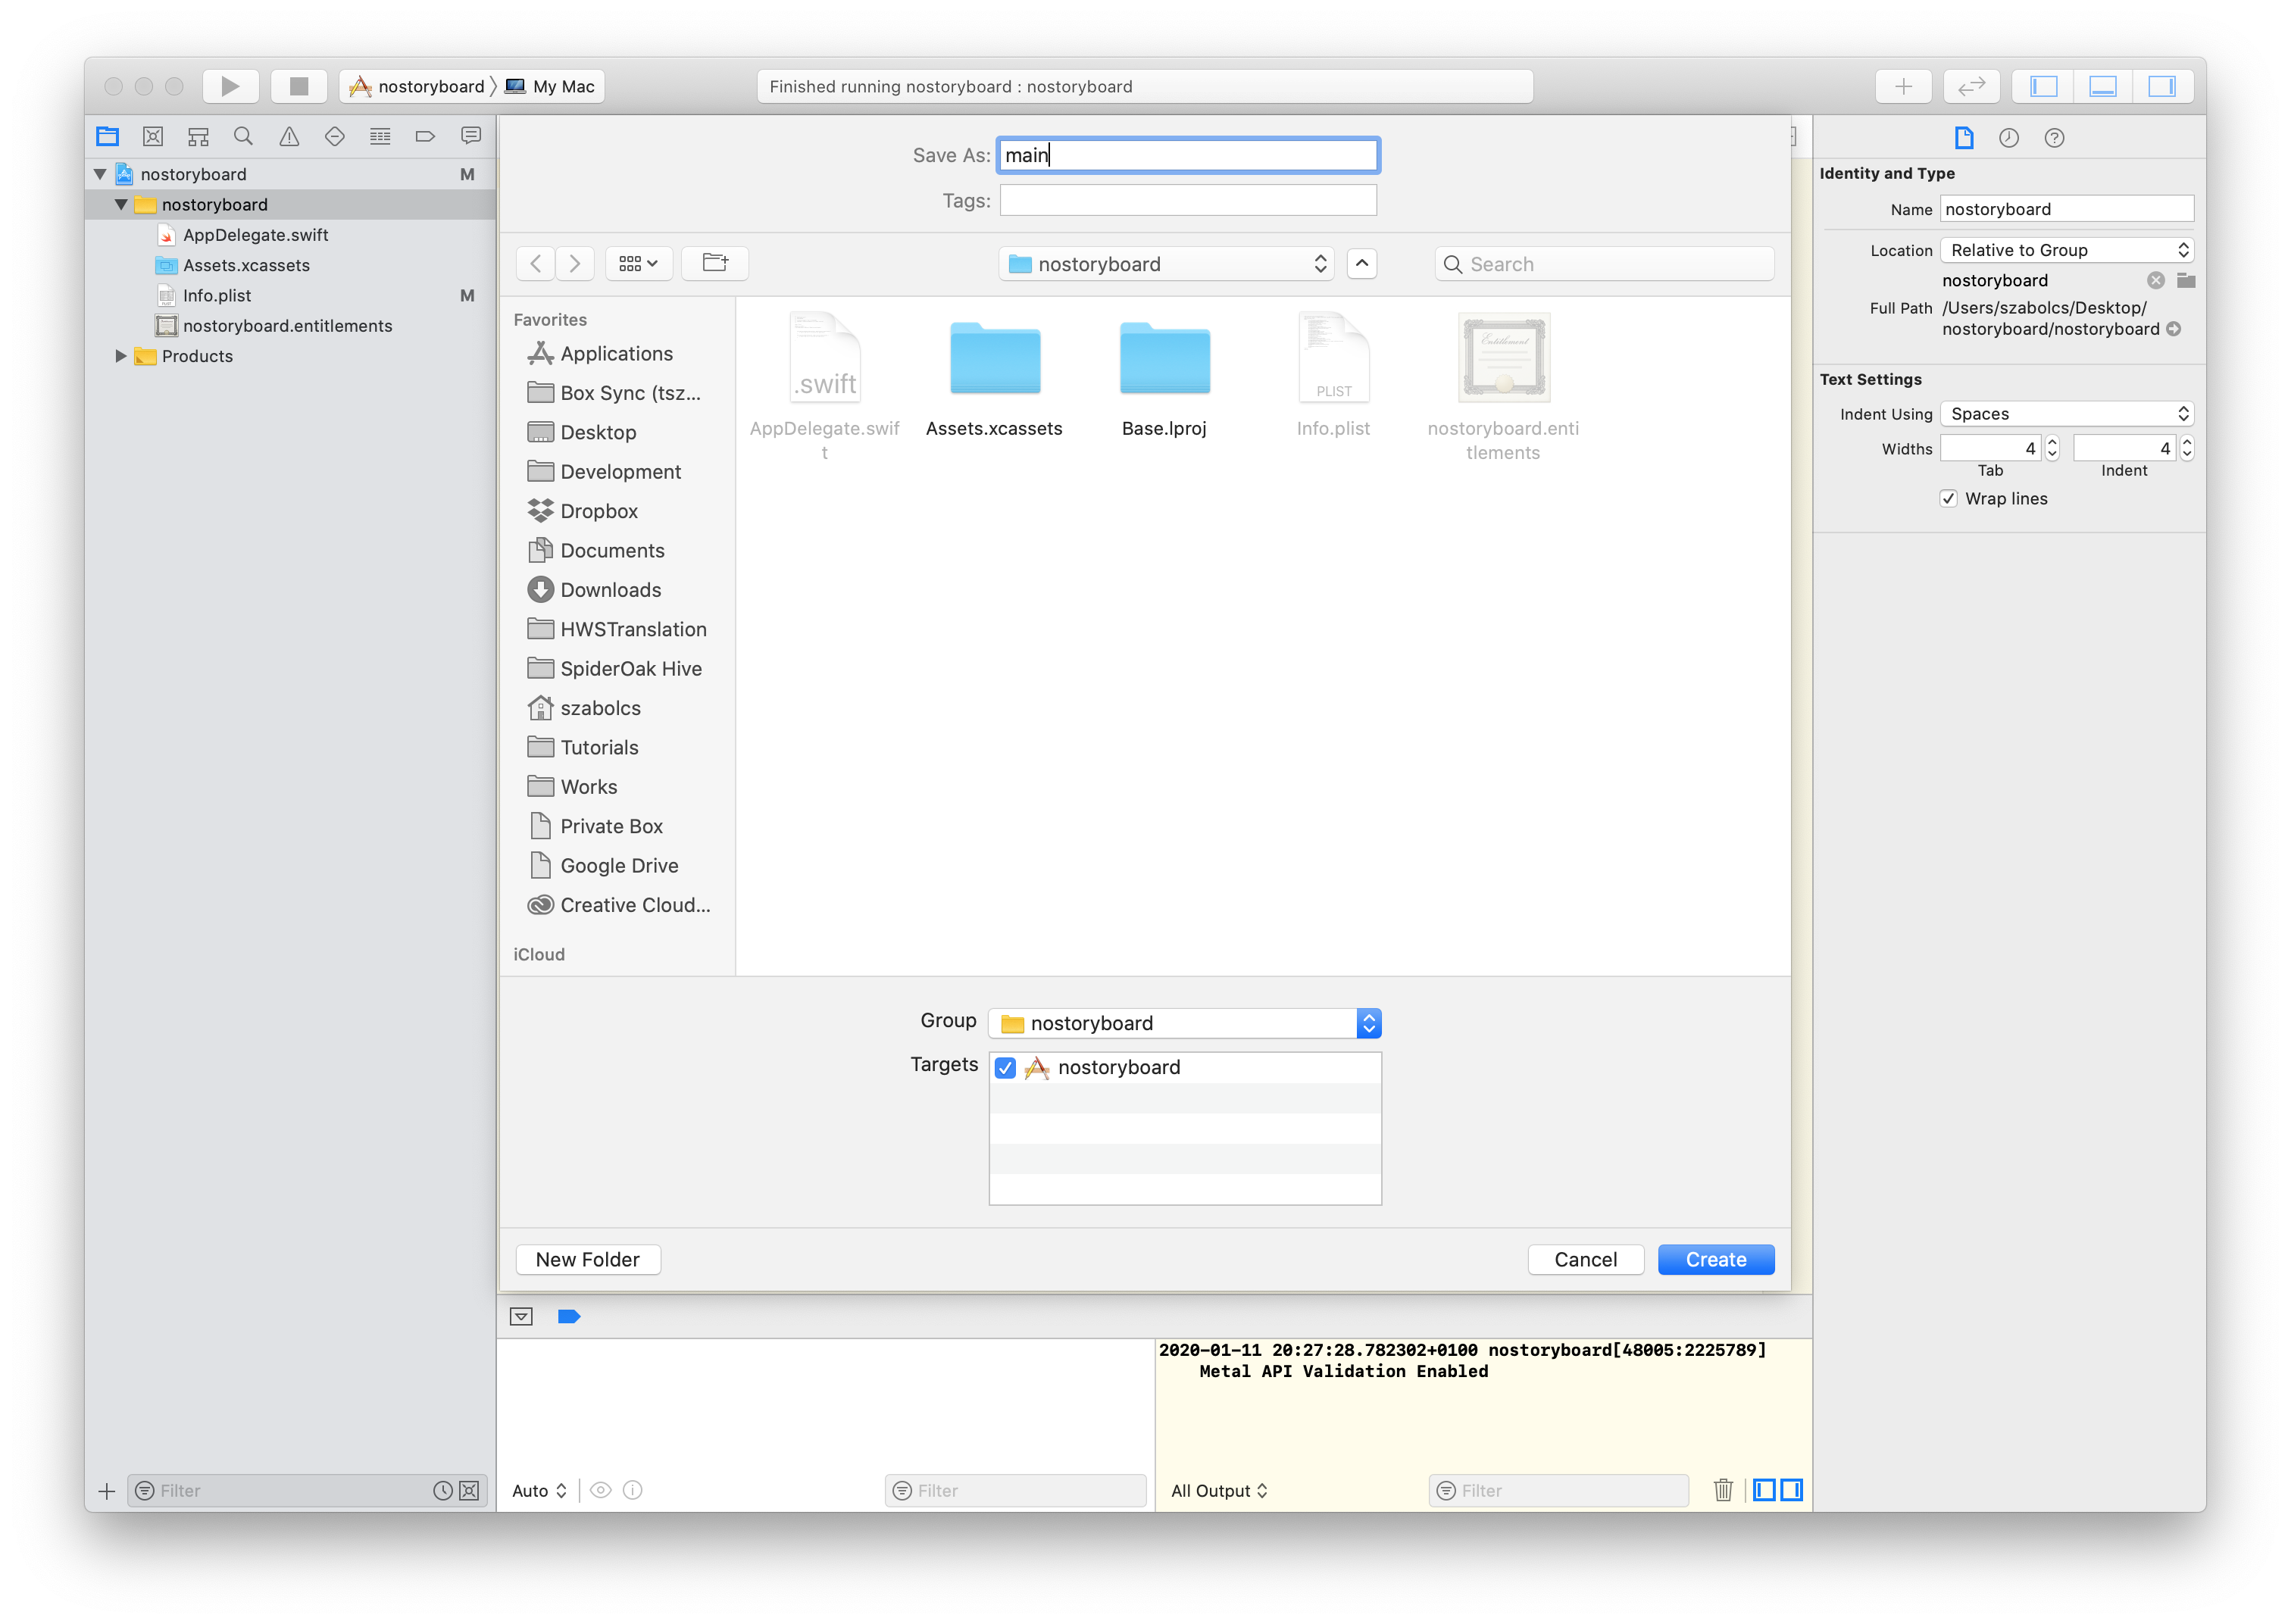 Add the following code to it, this is require to execute AppDelegate.swift.
import Cocoa

let delegate = AppDelegate()
NSApplication.shared.delegate = delegate
_ = NSApplicationMain(CommandLine.argc, CommandLine.unsafeArgv)
Step 4.
Insert the following into AppDelegate.swift and comment out @NSApplicationMain
private var window: NSWindow?

func applicationDidFinishLaunching(_ aNotification: Notification) {

    let windowSize = NSSize(width: 480, height: 240)
    let screenSize = NSScreen.main?.frame.size ?? .zero
    let rect = NSMakeRect(screenSize.width/2 - windowSize.width/2, screenSize.height/2 - windowSize.height/2, windowSize.width, windowSize.height)
    window = NSWindow(contentRect: rect, styleMask: [.miniaturizable, .closable, .resizable, .titled], backing: .buffered, defer: false)
    window?.title = "No Storyboard Window"
    window?.makeKeyAndOrderFront(nil)
}
Run our app now.
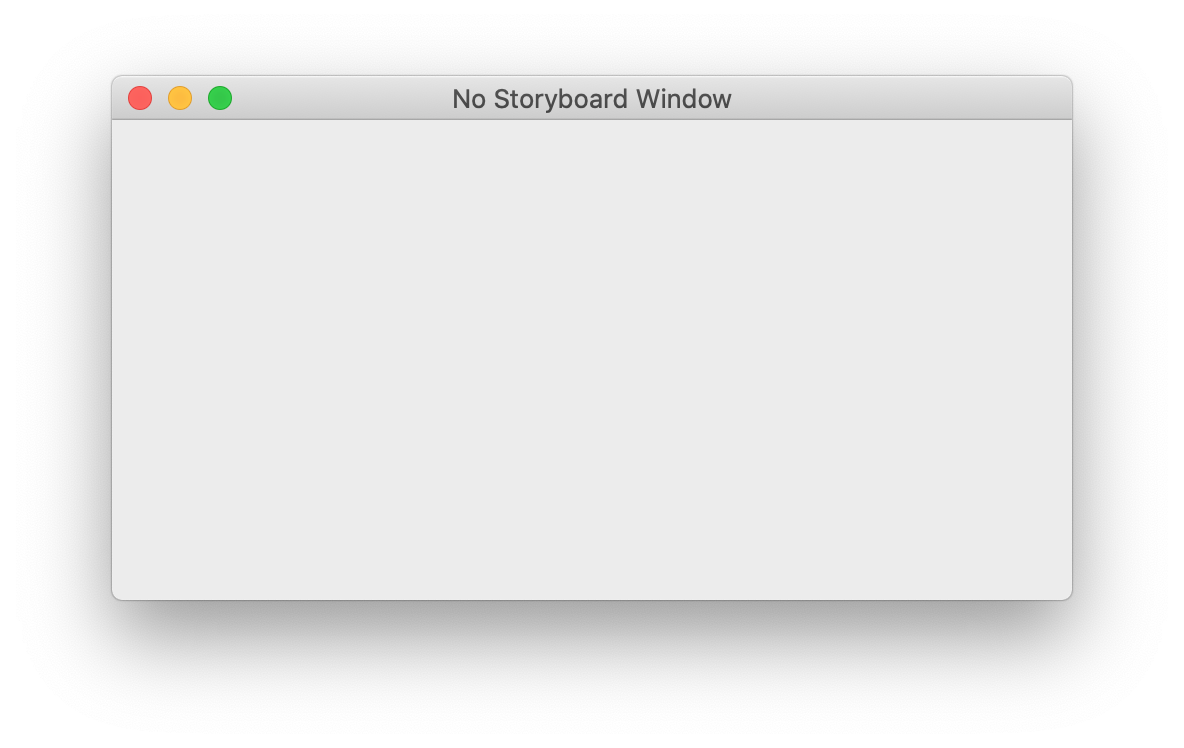 Looks good but we need to add a NSViewController to show some content.
Step 5.
Add MyViewController.swift as NSViewController.
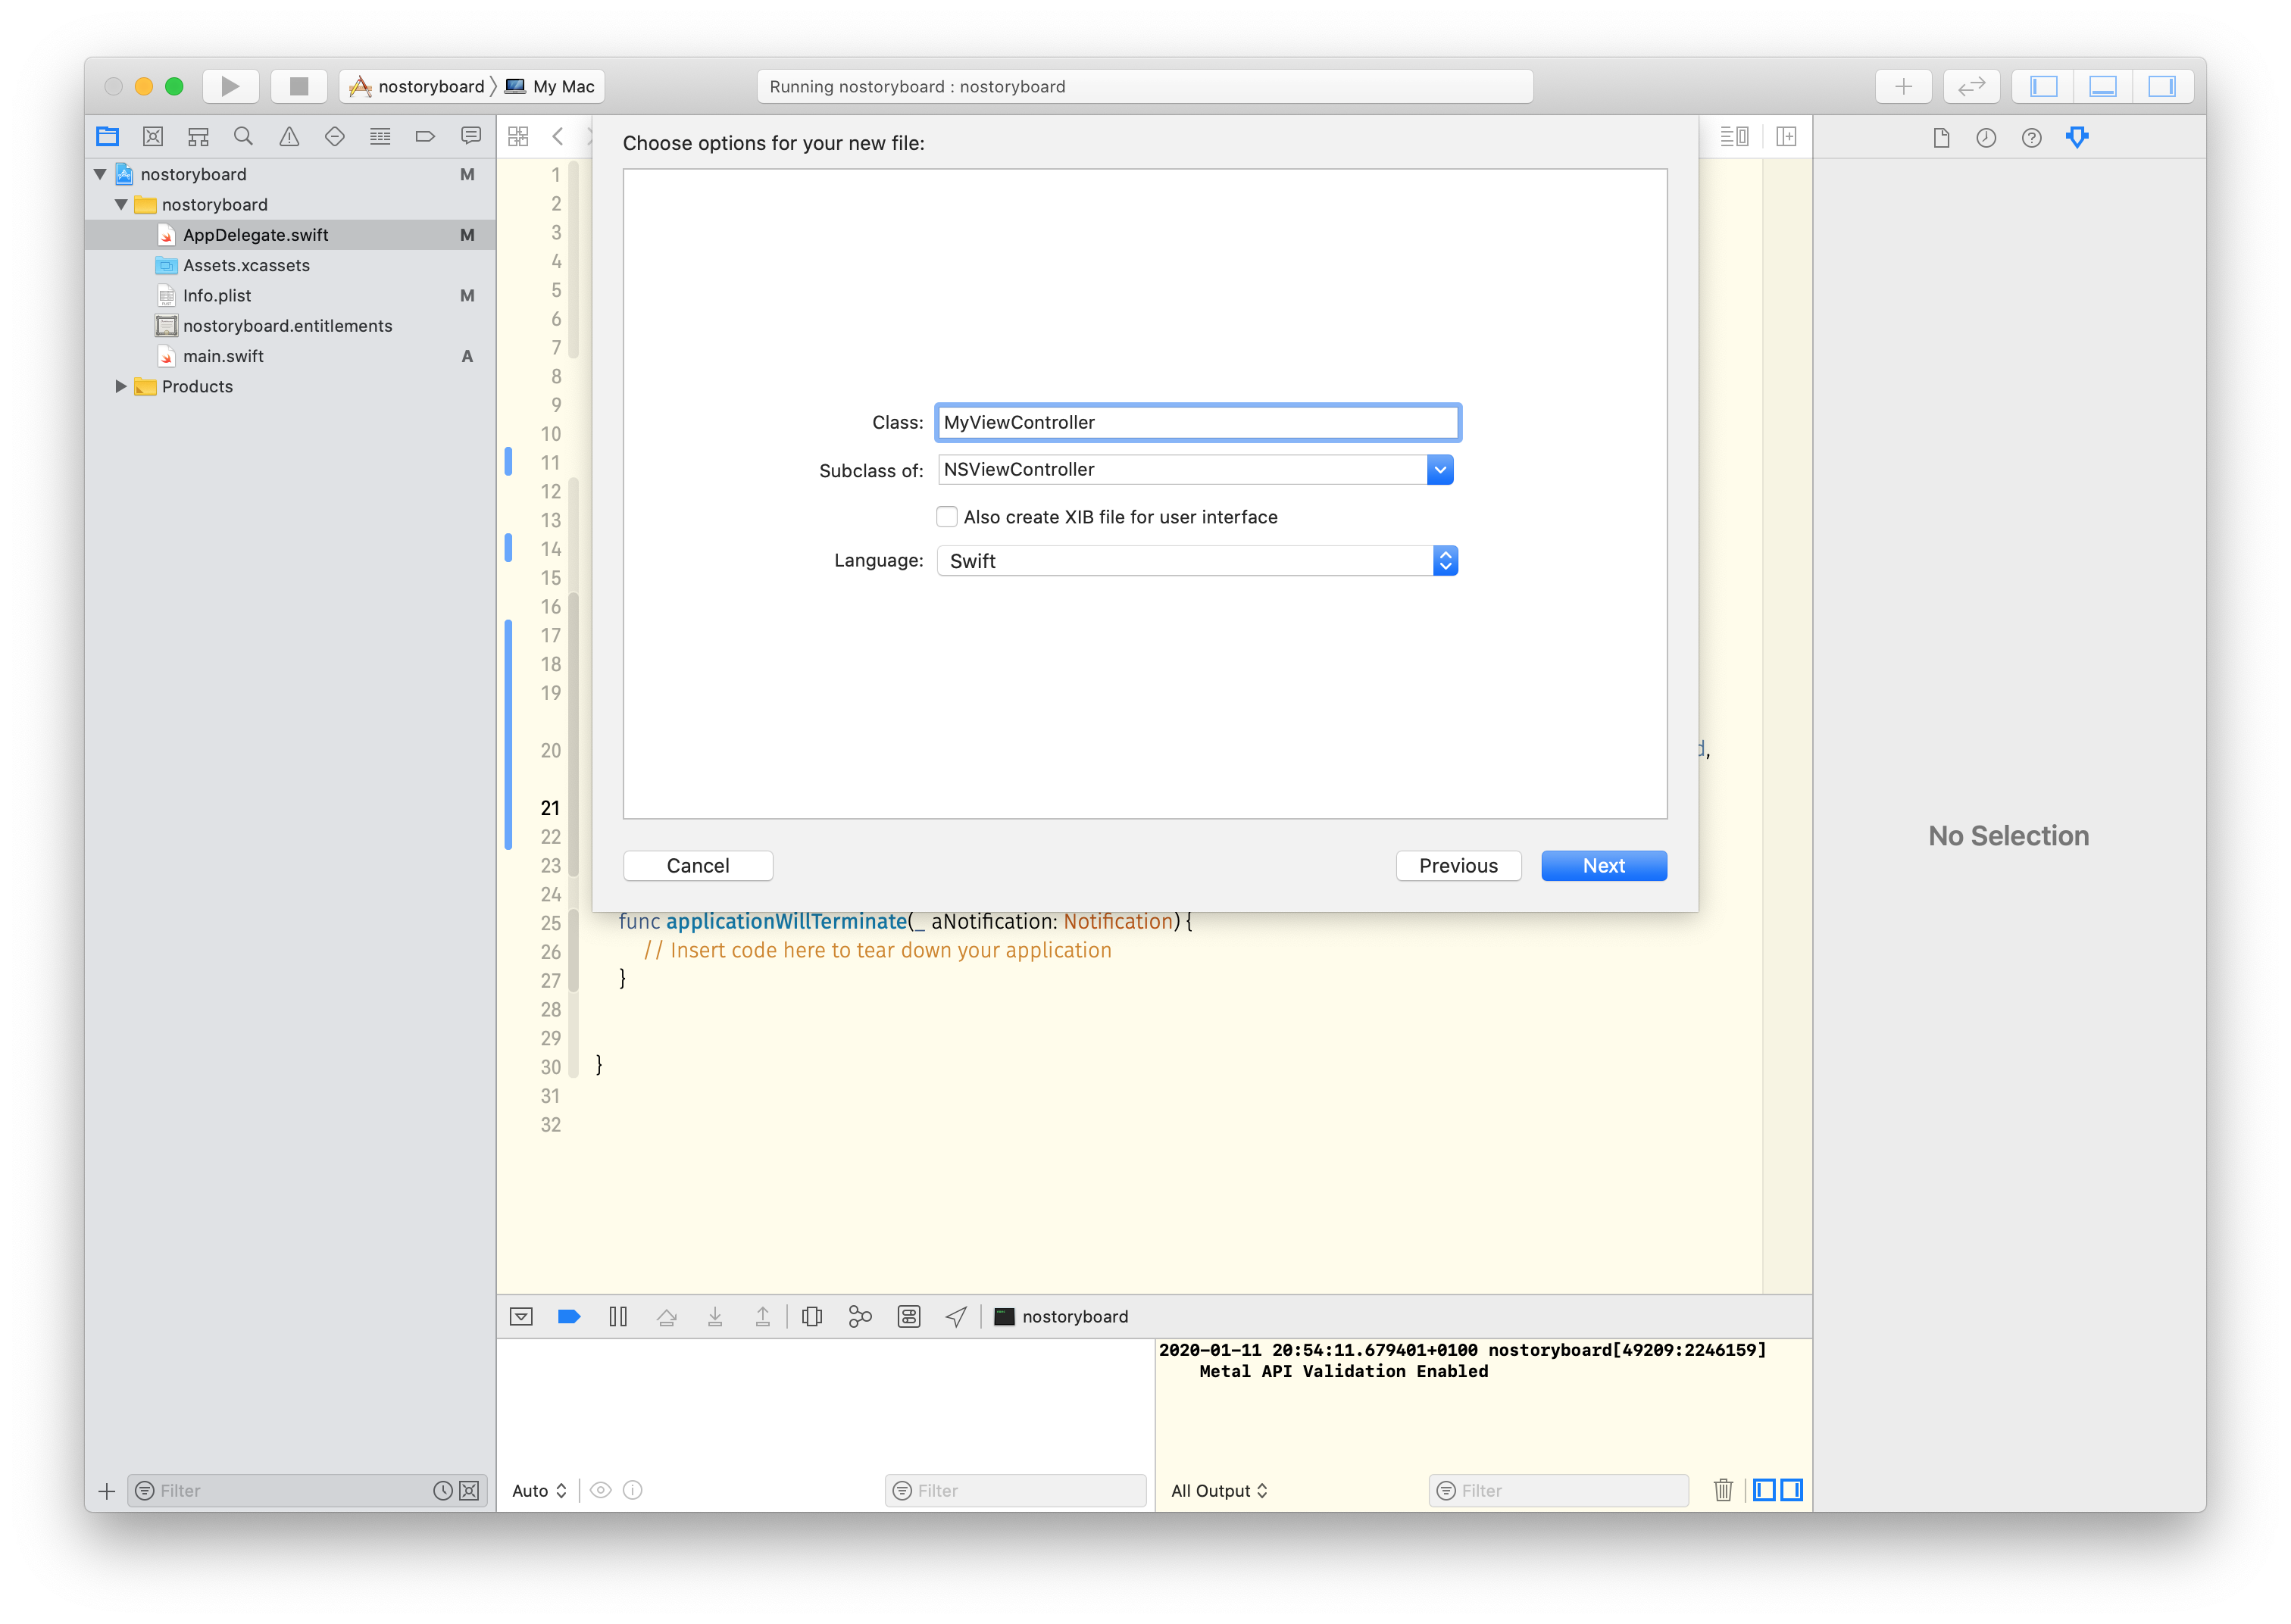
Connect our new NSWindow with the new MyViewController:
window?.contentViewController = MyViewController()
Color the background of the NSViewController to see if we managed to add to NSWindow.
 override func loadView() {
    let rect = NSRect(x: 0, y: 0, width: 480, height: 240)
    view = NSView(frame: rect)
    view.wantsLayer = true
    view.layer?.backgroundColor = NSColor.white.cgColor
 }
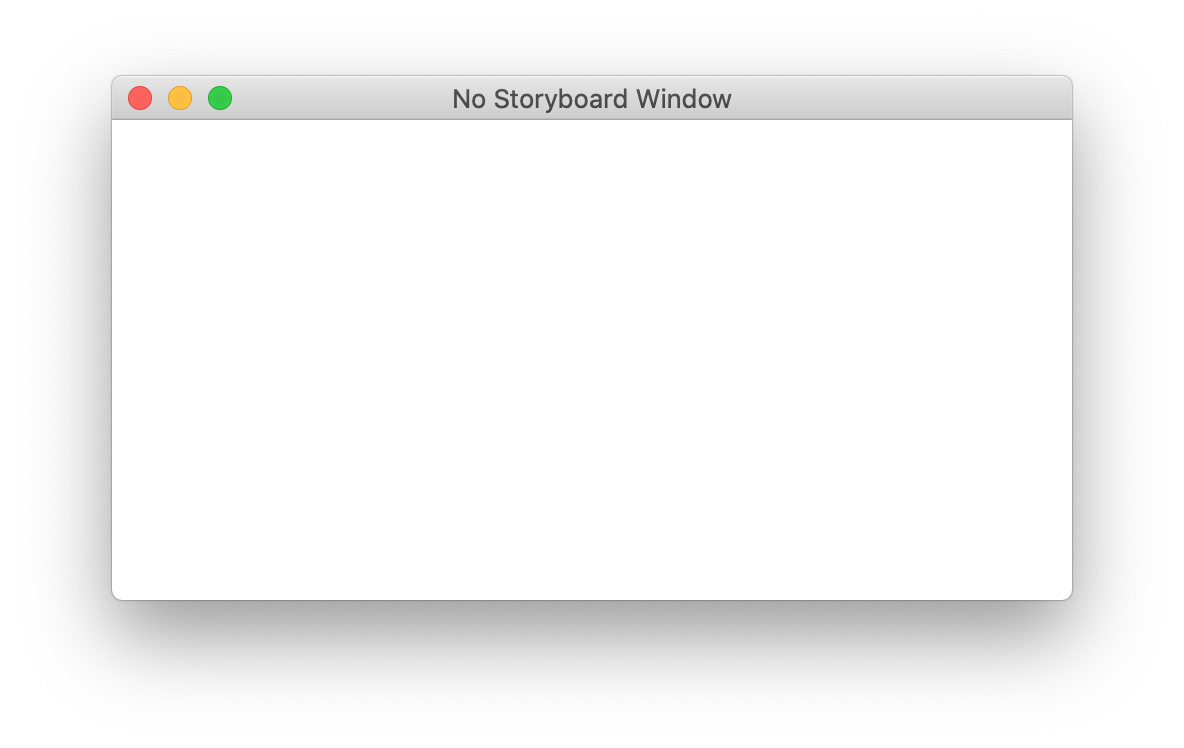
Step 6. Add some more code to MyViewController.swift to show a label.
let label = NSTextField()
label.frame = CGRect(x: view.bounds.width/2-50, y: view.bounds.height/2-22, width: 100, height: 44)
label.stringValue = "Hello, World!"
label.backgroundColor = .white
label.isBezeled = false
label.isEditable = false
view.addSubview(label)
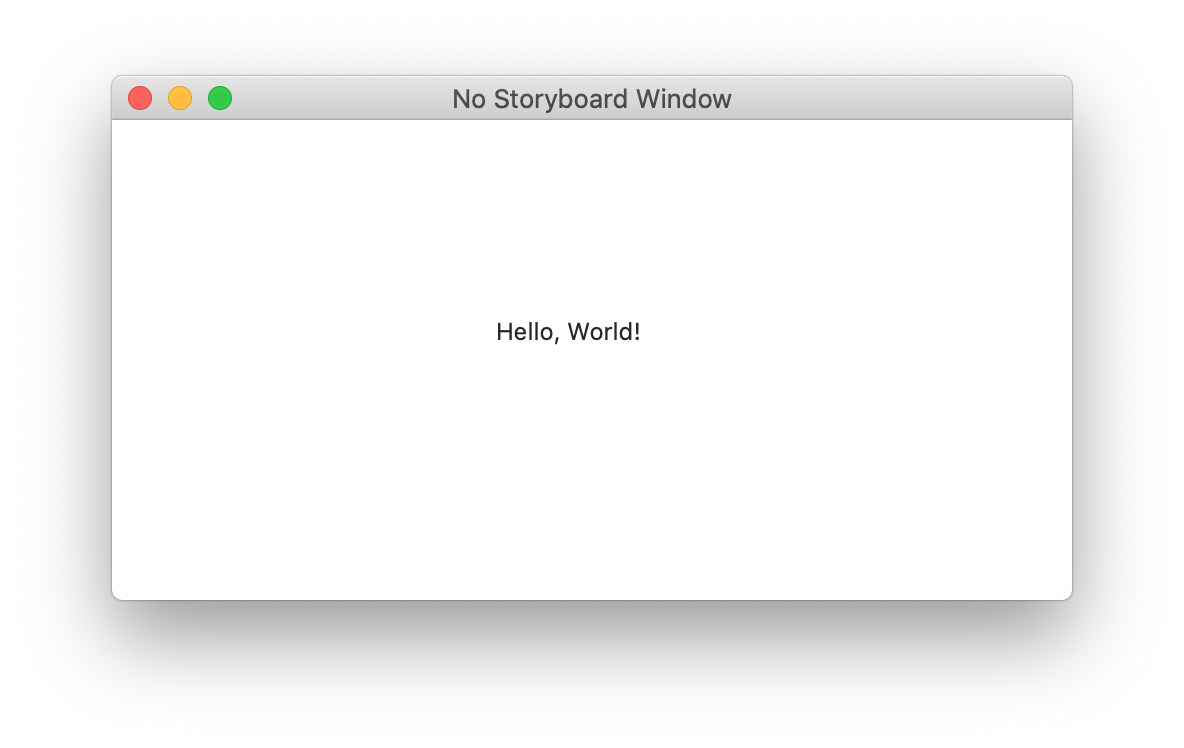
There is only one big issue with our new app, there is no Menu as we deleted it with the Main.Storyboard.
Step 7.
Go back to AppDelegate.swift and insert the code for menu.
// Get application name
let bundleInfoDict: NSDictionary = Bundle.main.infoDictionary! as NSDictionary
let appName = bundleInfoDict["CFBundleName"] as! String

// Add menu
let mainMenu = NSMenu()
let mainMenuFileItem = NSMenuItem(title: "File", action:nil, keyEquivalent: "")
let fileMenu = NSMenu(title: "File")
fileMenu.addItem(withTitle: "About \(appName)", action: nil, keyEquivalent: "")
fileMenu.addItem(NSMenuItem.separator())
fileMenu.addItem(withTitle: "Hide \(appName)", action: #selector(NSApplication.hide(_:)), keyEquivalent: "")
fileMenu.addItem(withTitle: "Hide Others", action: #selector(NSApplication.hideOtherApplications(_:)), keyEquivalent: "")
fileMenu.addItem(withTitle: "Show All", action: #selector(NSApplication.unhideAllApplications(_:)), keyEquivalent: "")
fileMenu.addItem(NSMenuItem.separator())
fileMenu.addItem(withTitle: "Quit \(appName)", action: #selector(NSApplication.terminate(_:)), keyEquivalent: "q")

mainMenuFileItem.submenu = fileMenu

mainMenu.addItem(mainMenuFileItem)

NSApp.mainMenu = mainMenu
Now, you can quit from menu.
Source code: Github
Sources:
- Malik Alayli - Create a macOS app without a Main Storyboard
- Christoffer Winterkvist - How to write an NSViewController without interface builder on macOS
- Christoffer Winterkvist - How to make a label in macOS
- Stackoverflow
- Stackoverflow
- Stackoverflow
- Gene De Lisa - Swift script to create a Cocoa window
- Lukas Thoms - AppDelegate is Not The First Code to Run
- Stackoverflow