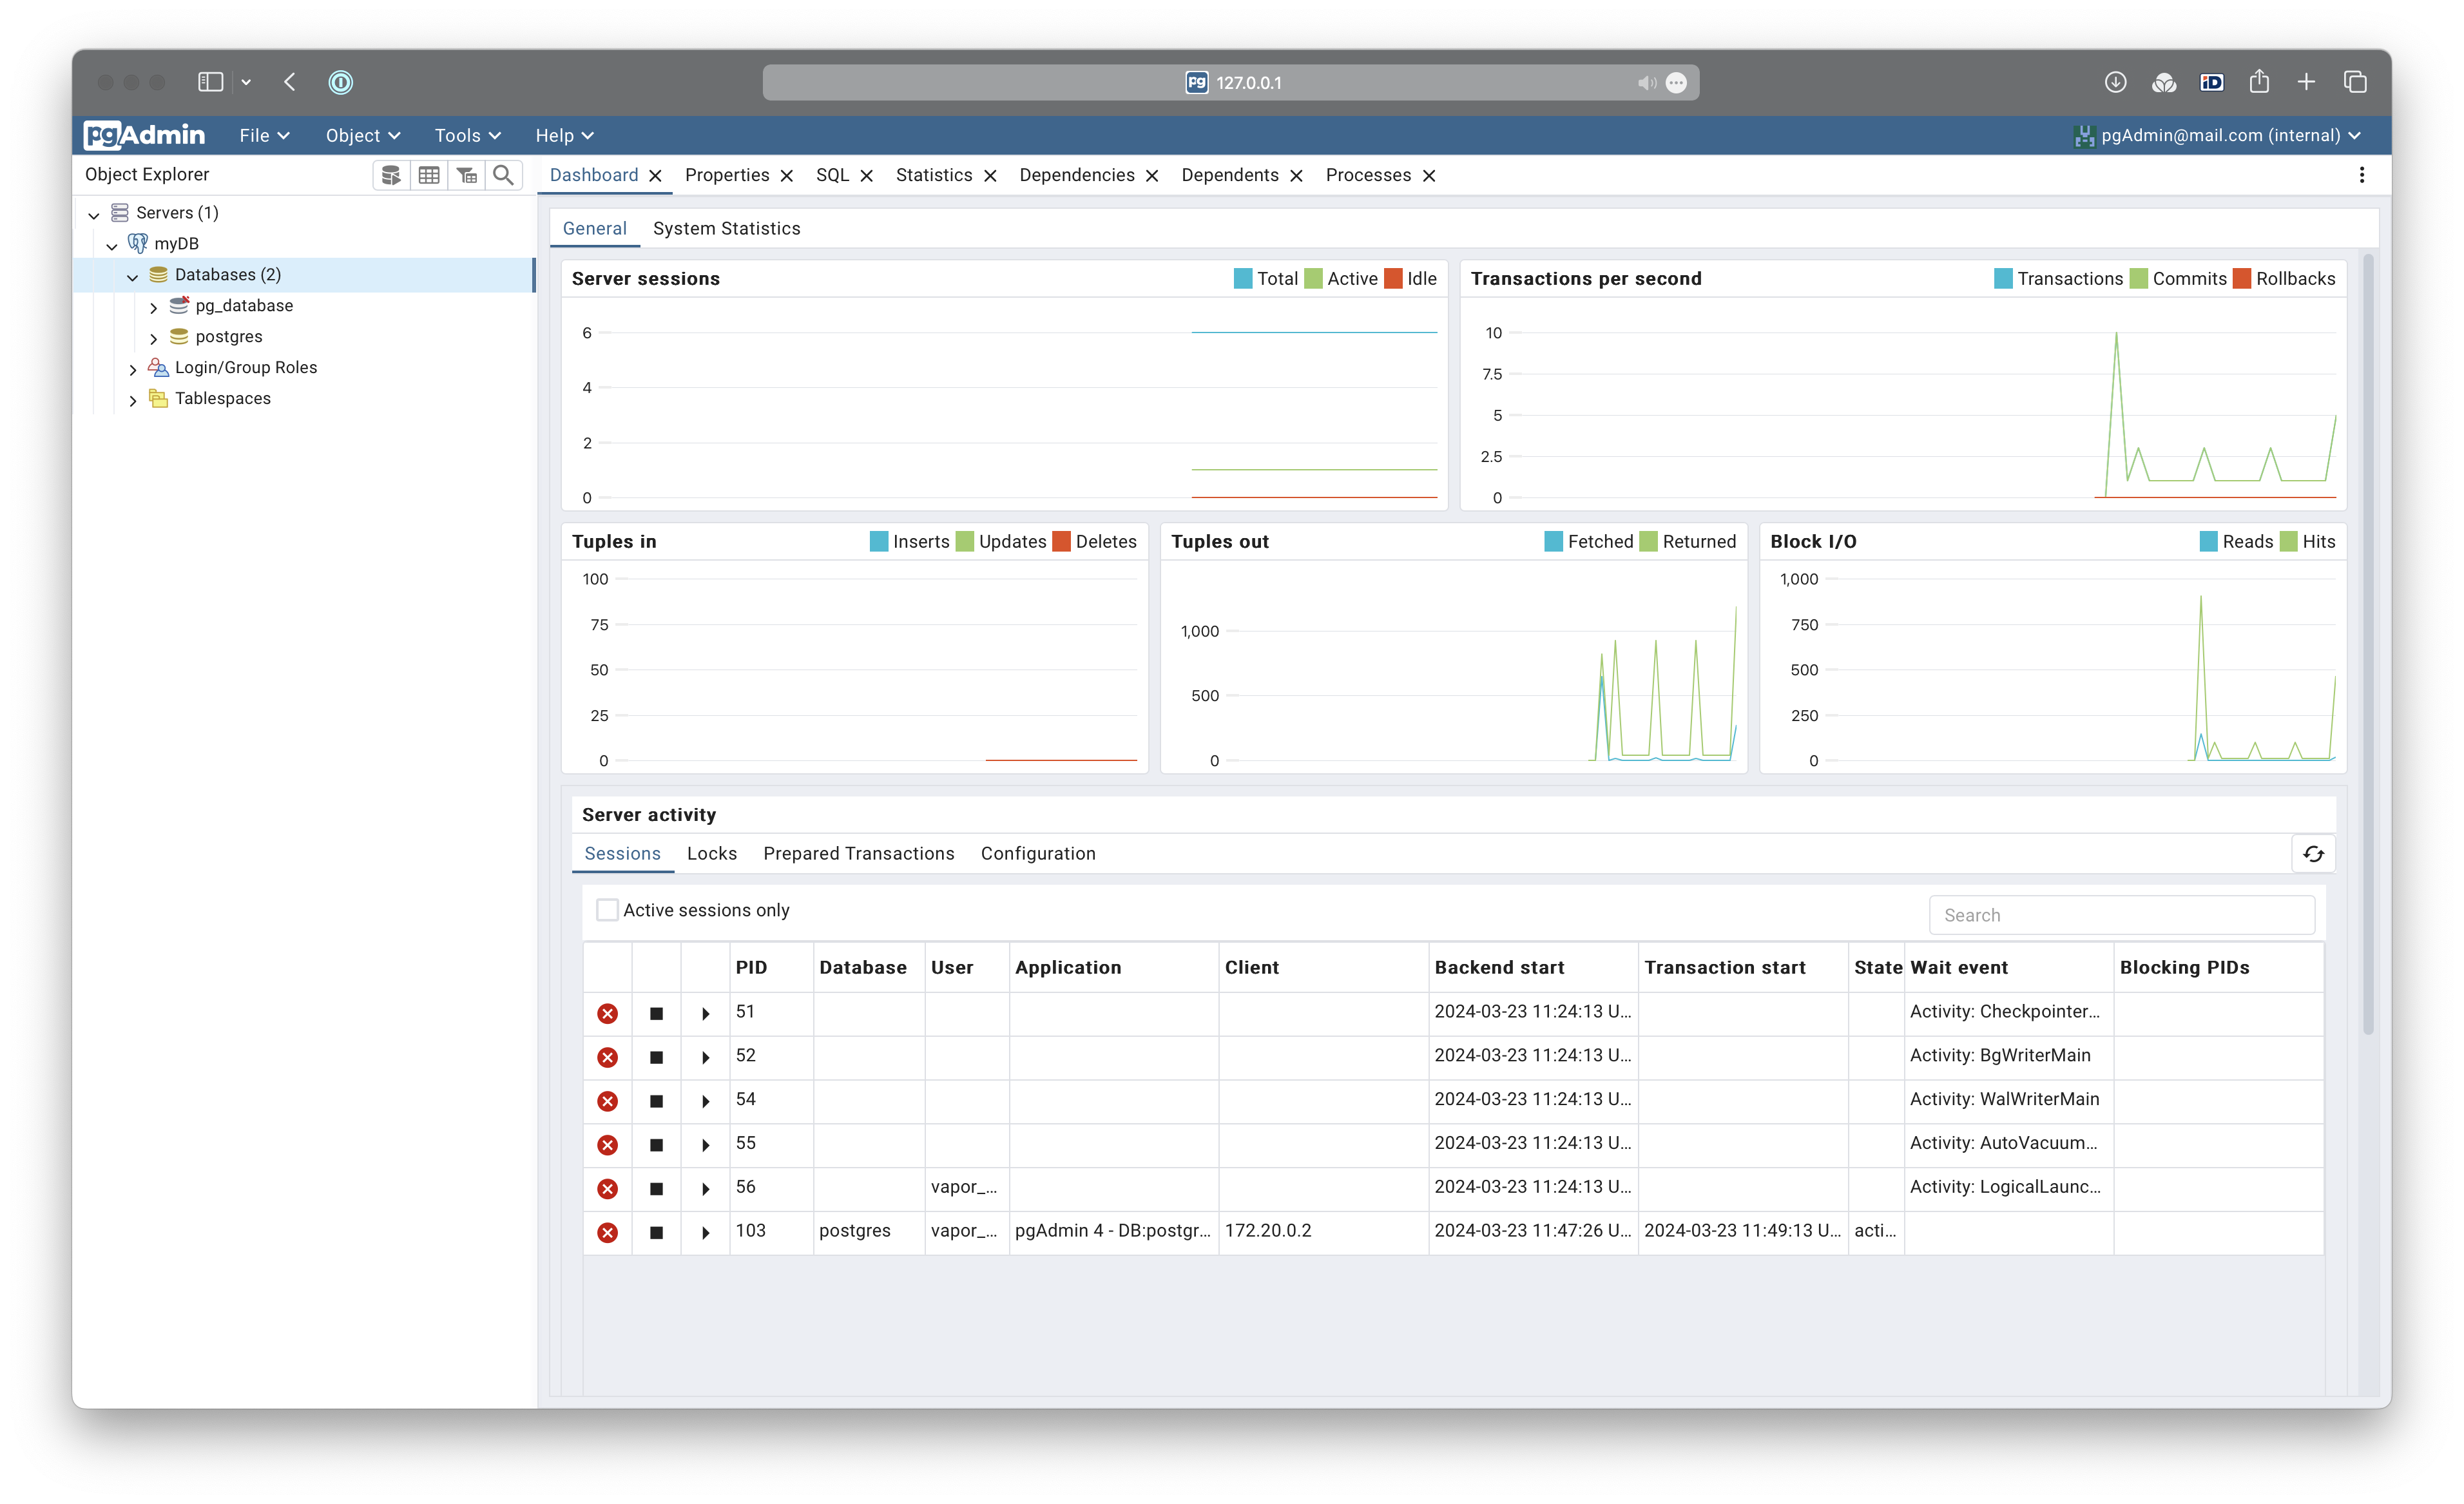
Installing PostgreSQL database using Docker is a very convenient way, you don’t need to worry about different dependencies. Several developers enjoys the advantages of pgAdmin tool.
Running pgAdmin on localhost
Running these two tools with Docker Compose on local machine is very simple. You define both services in the docker-compose.yml
version: '3.8'

services:
  db:
    image: postgres:16-alpine
    restart: always
    env_file:
      - .env.production
    ports:
      - 5432:5432
    volumes:
      - db_data:/var/lib/postgresql/data
  pgadmin:
    image: dpage/pgadmin4
    restart: always
    ports:
      - "8888:80"
    env_file:
      - .env.production
    volumes:
      - pgadmin-data:/var/lib/pgadmin

volumes:
  db_data:
  pgadmin-data:
I put all credentials into a .env.production file to avoid push password to public repositories.
# PostgreSQL database
PGDATA=/var/lib/postgresql/data/pgdata
POSTGRES_USER=admin
POSTGRES_PASSWORD=admin_passw0rd
POSTGRES_DB=pg_database
POSTGRES_HOST=localhost
# pgAdmin
PGADMIN_DEFAULT_EMAIL=pgAdmin@mail.com
PGADMIN_DEFAULT_PASSWORD=pgAdmin_secr3t
Start the database and pgAdmin:
$ docker compose up
You can access pgAdmin on 127.0.0.1:8888:

Providing the credentials we set in .env.production file, we can login to pgAdmin.
To add our database we need to know the ip address.

$ docker compose ps
NAME                      IMAGE                COMMAND                  SERVICE   CREATED          STATUS          PORTS
todo-db-1        postgres:16-alpine   "docker-entrypoint.s…"   db        19 minutes ago   Up 19 minutes   0.0.0.0:5432->5432/tcp
todo-pgadmin-1   dpage/pgadmin4       "/entrypoint.sh"         pgadmin   19 minutes ago   Up 19 minutes   443/tcp, 0.0.0.0:8888->80/tcp
$ docker inspect todo-db-1
"Networks": {
                "todo_default": {
                    "IPAMConfig": null,
                    "Links": null,
                    "Aliases": [
                        "todo-db-1",
                        "db",
                        "c1db030c667a"
                    ],
                    "MacAddress": "02:42:ac:14:00:03",
                    "NetworkID": "9f03ccd3bbb56627a34a7f6e93f0cf936fbd9324c69f4a46d48201fd4abd91d2",
                    "EndpointID": "ce9f761569199eba785fb07c37369a4d50d7cd73fa0fcb336a9b979b6a04e10a",
                    "Gateway": "172.20.0.1",
                    "IPAddress": "172.20.0.3",
                    "IPPrefixLen": 16,
                    "IPv6Gateway": "",
                    "GlobalIPv6Address": "",
                    "GlobalIPv6PrefixLen": 0,
                    "DriverOpts": null,
                    "DNSNames": [
                        "todeletelater-db-1",
                        "db",
                        "c1db030c667a"
                    ]
                }
            }
At the bottom, in the Network section you will find the IPAddress: 172.20.0.3 line.
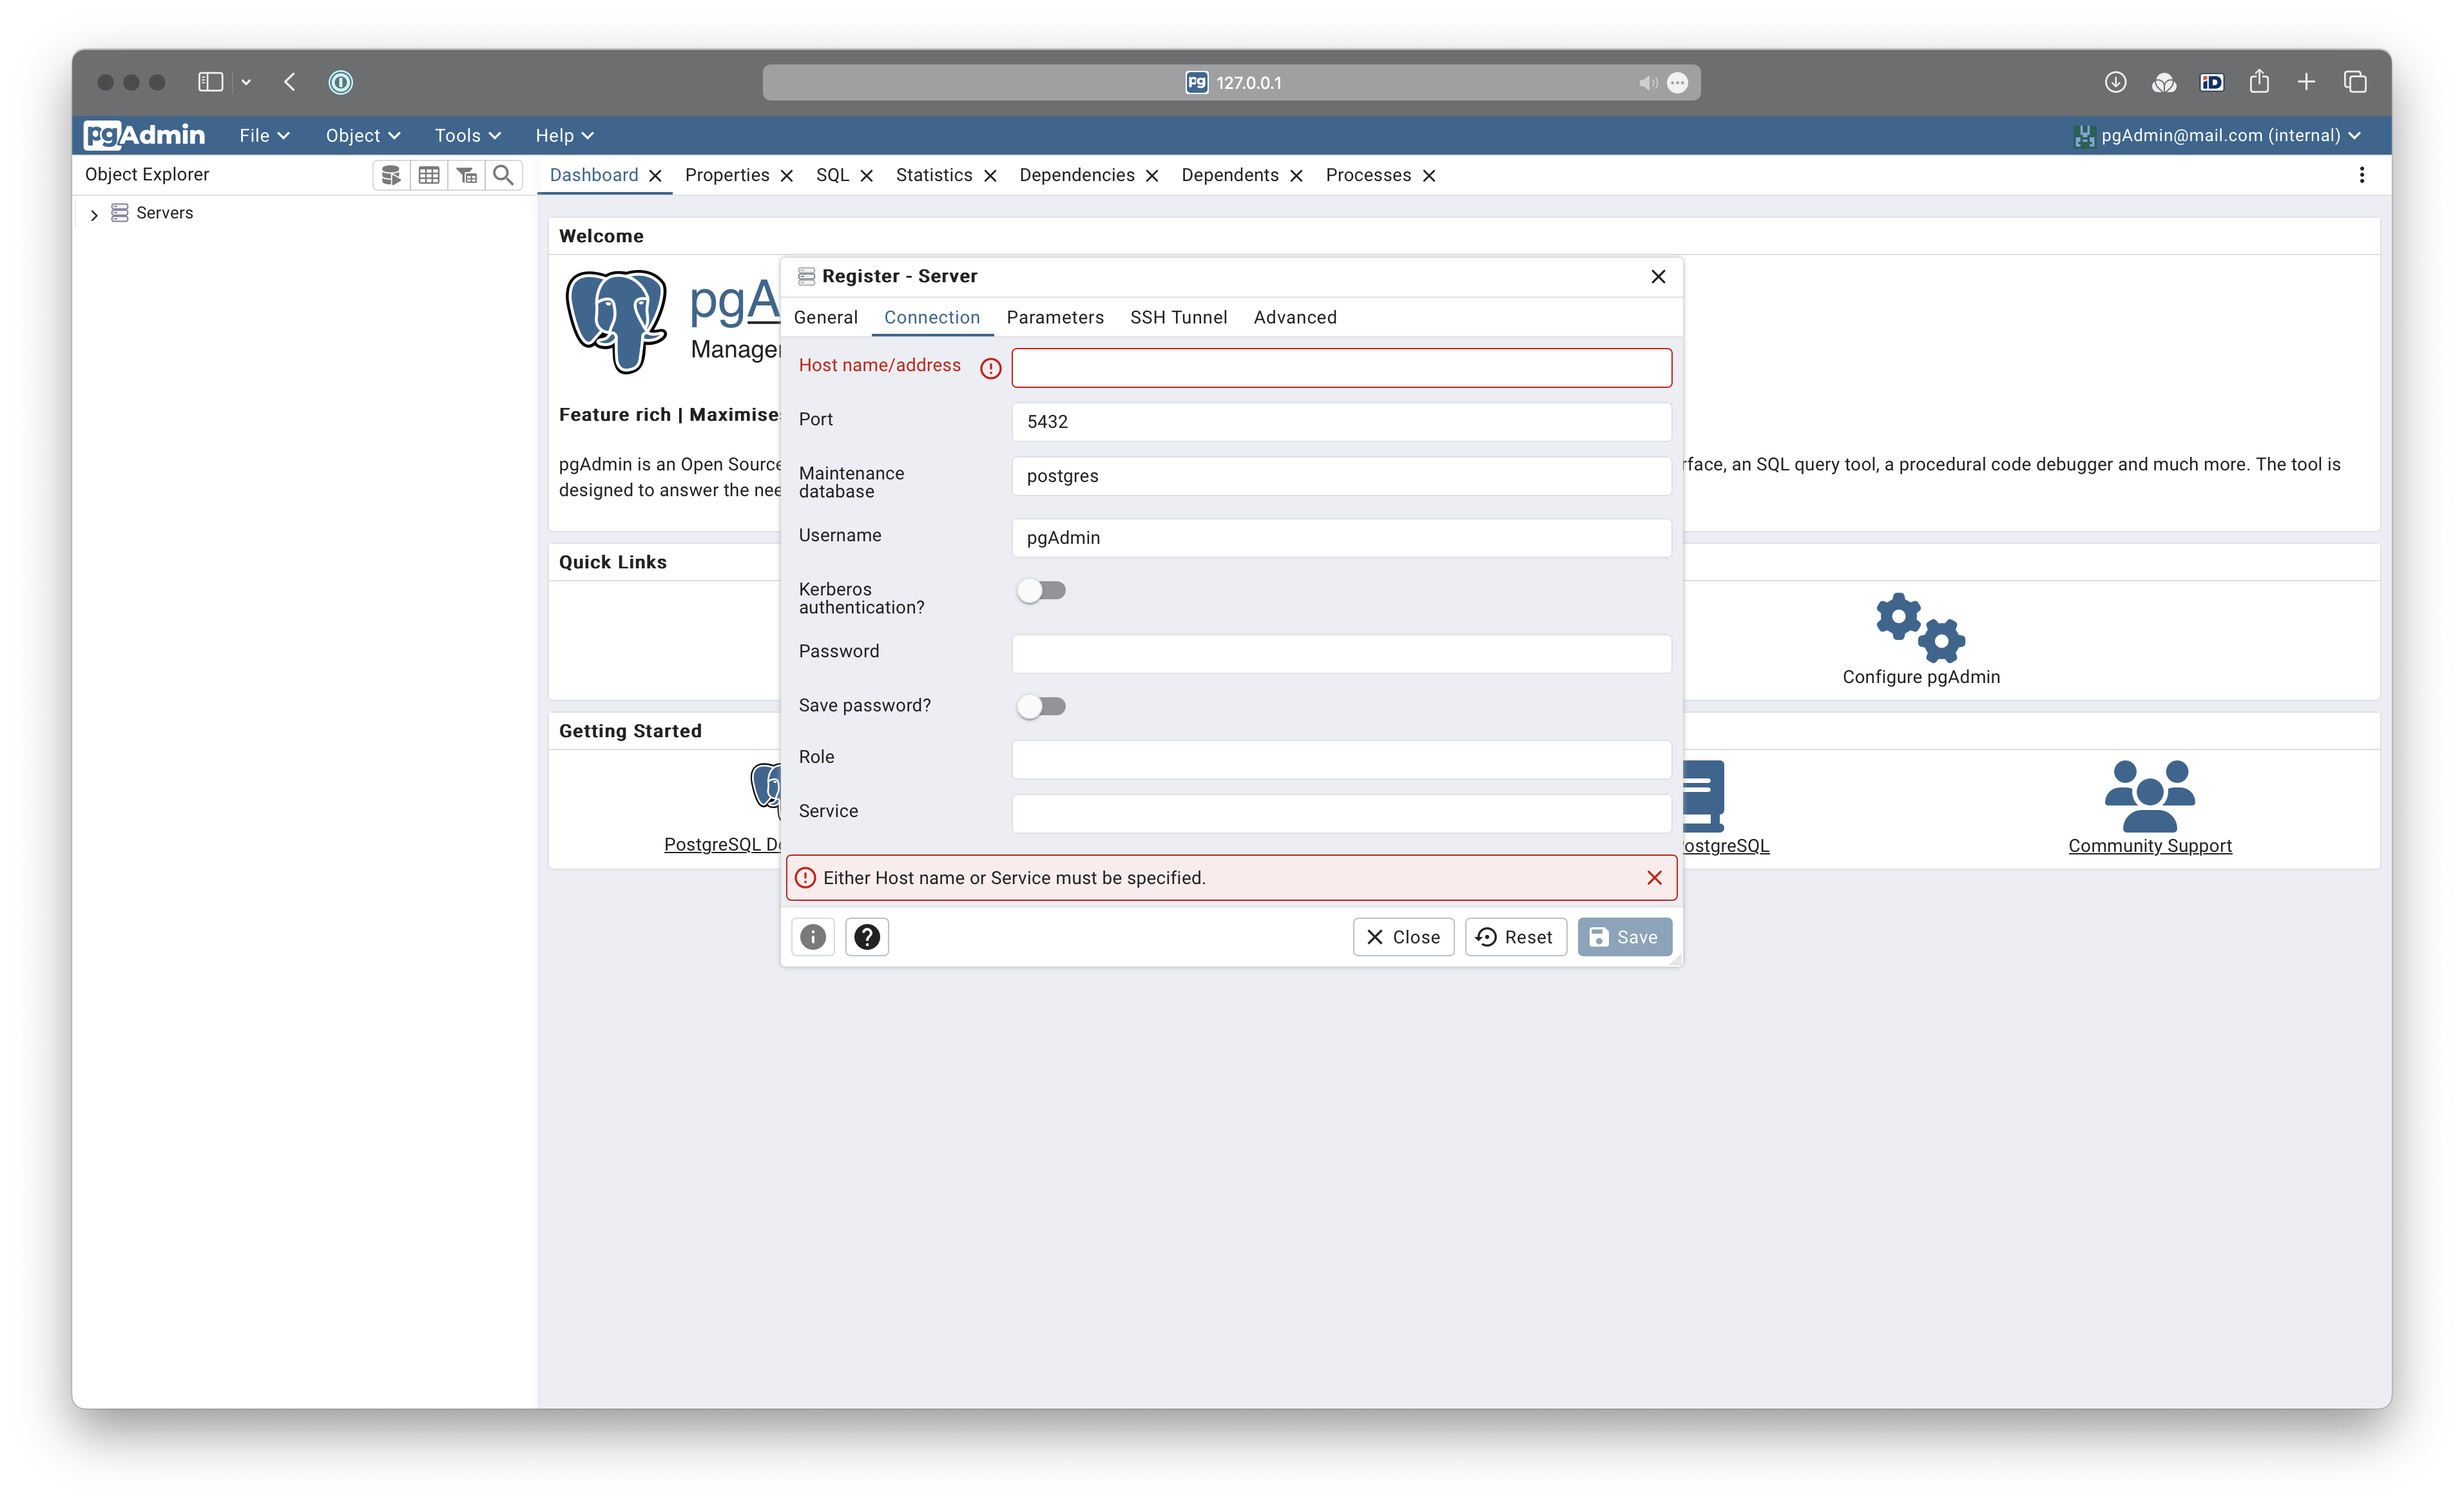
Add this IP address to the Host name/address. The Username and Password was defined in the .env.production file.

Running pgAdmin on remote server
To reach the the web interface on a remote server, we need to install NGINX and configure it as reverse proxy.
Install the web server:
sudo apt install nginx
Start the server:
sudo systemctl start nginx.service
Add a rule at the top of the INPUT and OUTPUT chain to ACCEPT connexions to port 80:
sudo iptables -I INPUT -p tcp --dport 80 -m conntrack --ctstate NEW,ESTABLISHED -j ACCEPT
sudo iptables -I OUTPUT -p tcp --sport 80 -m conntrack --ctstate ESTABLISHED -j ACCEPT
Remove the symlink pointing to the default configuration file:
sudo unlink /etc/nginx/sites-enabled/default
Create your_new_config.conf file in /etc/nginx/sites-available:
server {
    listen 80;
    listen [::]:80;

    server_name 130.61.35.12 www.130.61.35.12;

    location /pgadmin4 {
       proxy_pass http://127.0.0.1:8888;
       proxy_set_header X-Script-Name /pgadmin4;
    }
}
Create symlink to sites-enabled:
sudo ln -s /etc/nginx/sites-available/your_new_config.conf /etc/nginx/sites-enabled/your_new_config.conf
Restart the server:
sudo systemctl reload nginx.service
Test your setup:
Your can login to pgAdmin at /pgadmin4.